


![Computer in one room, monitor in another, 3D-printed router chassis, cables straight through the wall [Nästan färdigt projekt]](https://dealmakerz.co.uk/wp-content/uploads/2022/08/Computer-in-one-room-monitor-in-another-3D-printed-router-chassis-1024x538.jpeg "Computer in one room, monitor in another, 3D-printed router chassis, cables straight through the wall [Nästan färdigt projekt]")
When I saw today’s topic about “Where is your computer?” So it inspired me to brag about what I’ve been working on for the past few weeks.
I soon realized that the post was too long to be pushed into the thread, so choose to create this post instead.
I recently moved into a newly built apartment and my energy level for projects was max.
I choose to put all computers/servers (except kids) in my “workshop” where I have the servers, workbench, tools, 3D printer, etc.
I learned CAD just for this project.
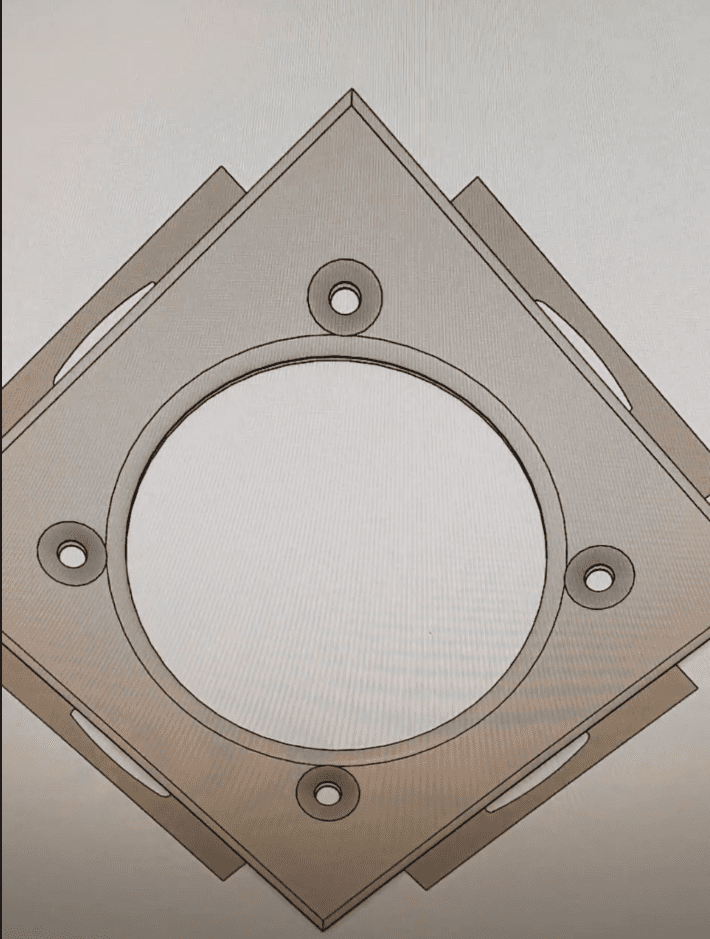
Print a chassis for my new custom opnsense server, then print a “cable hole” for the wall and pass the wires right through the wall.
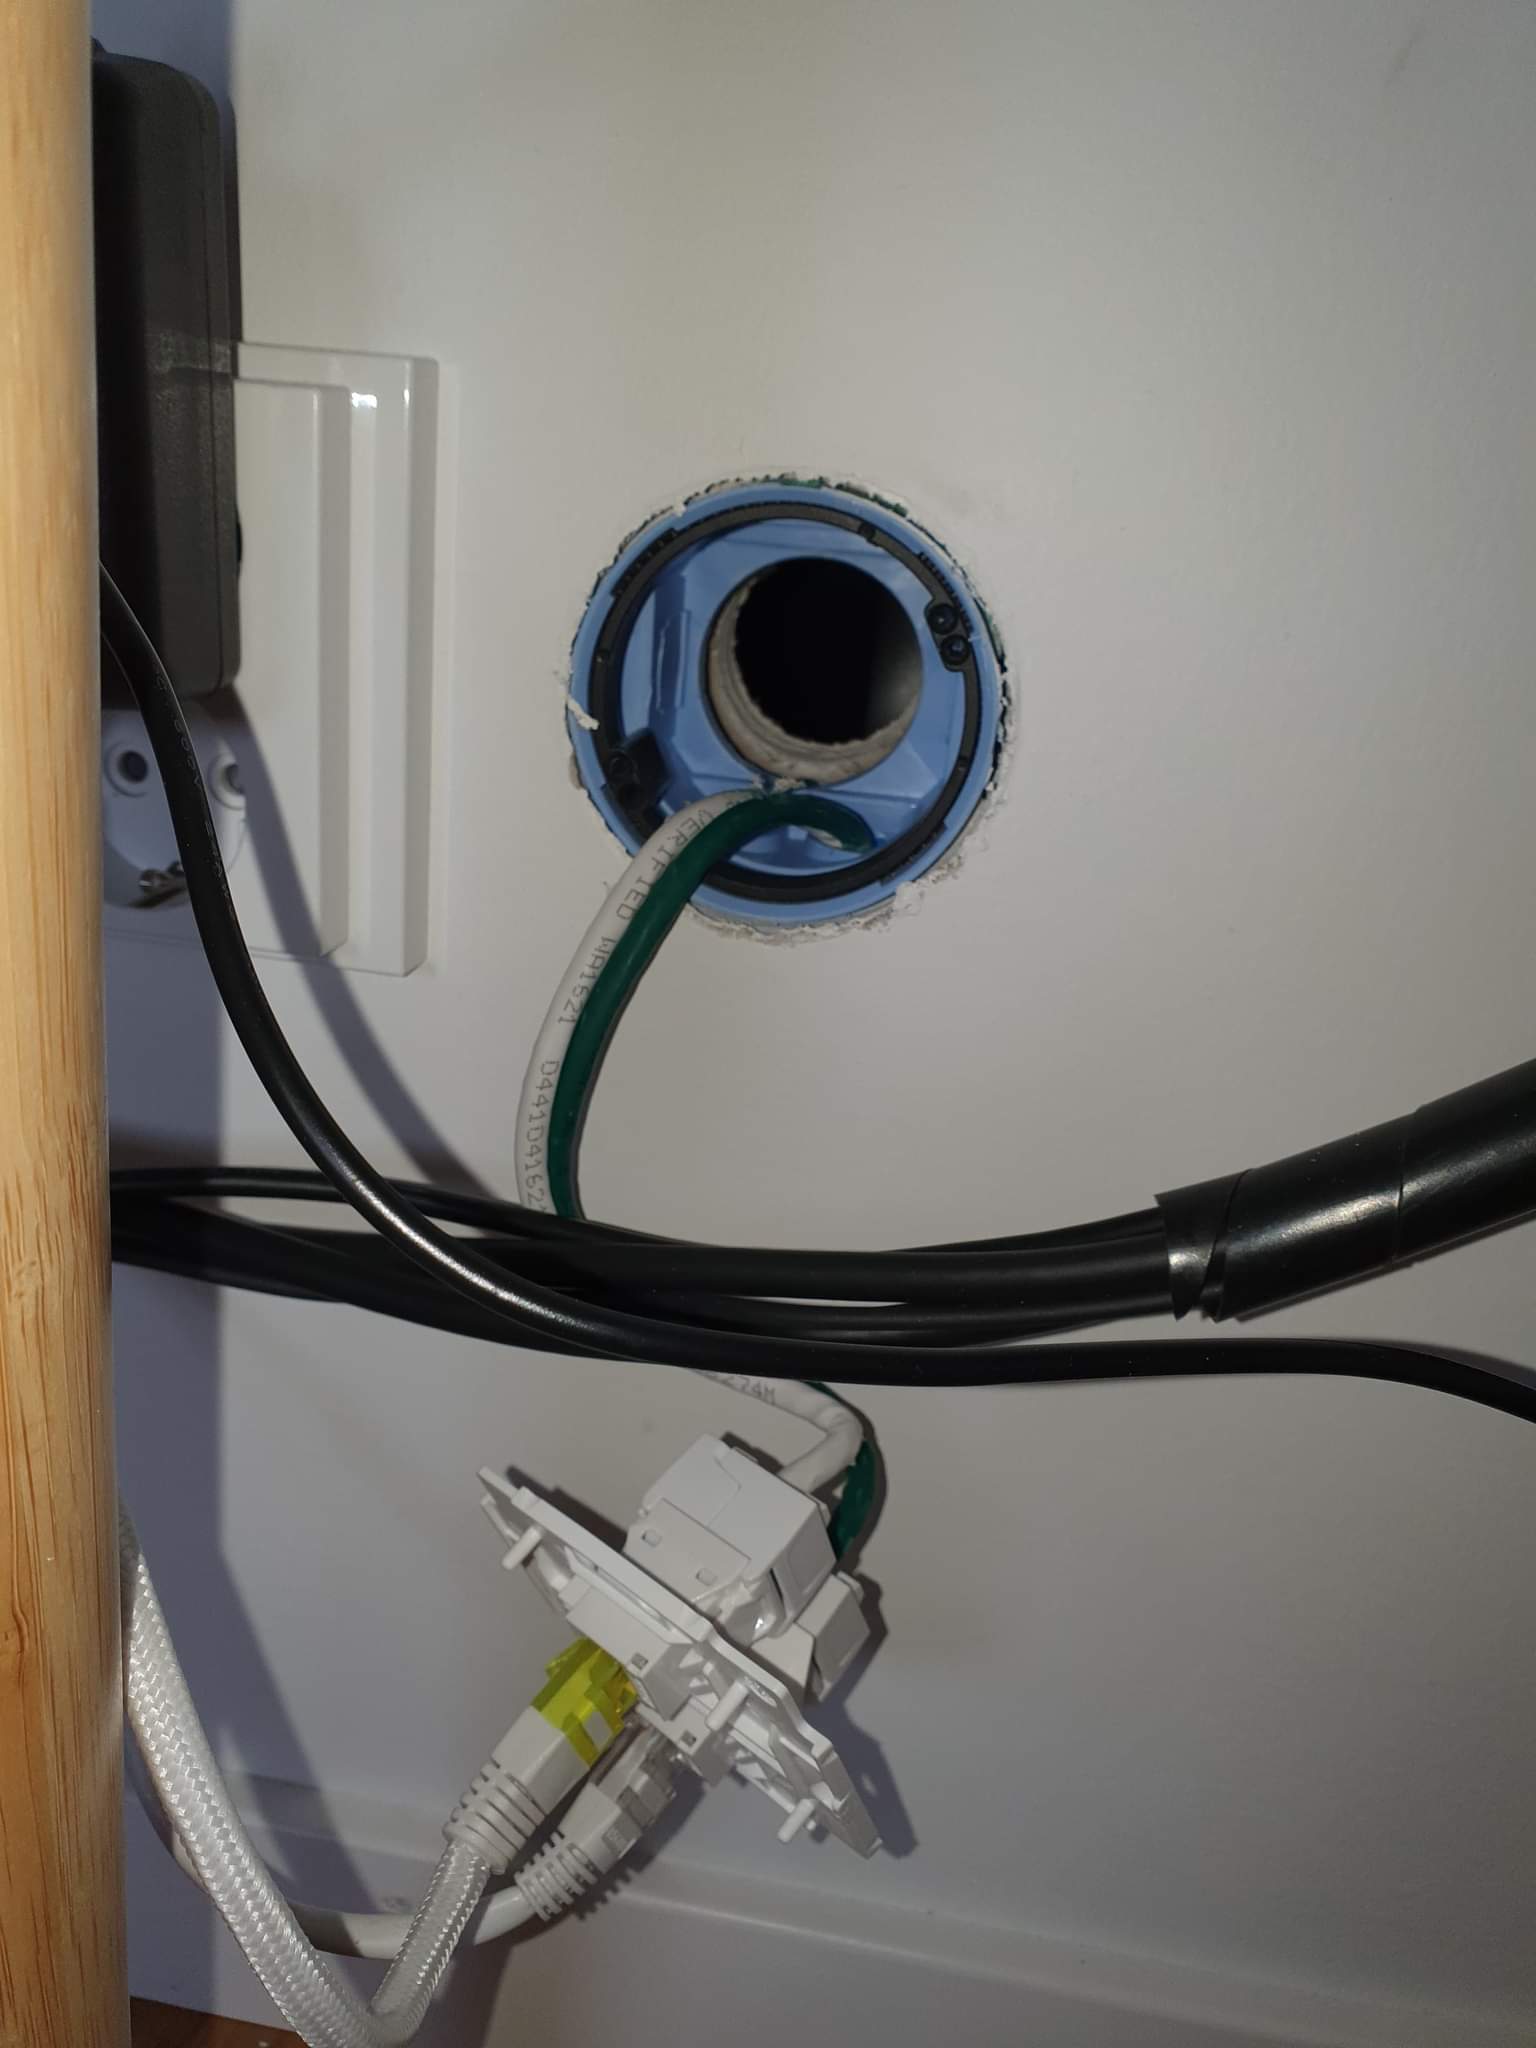
I drilled holes in the living room wall.
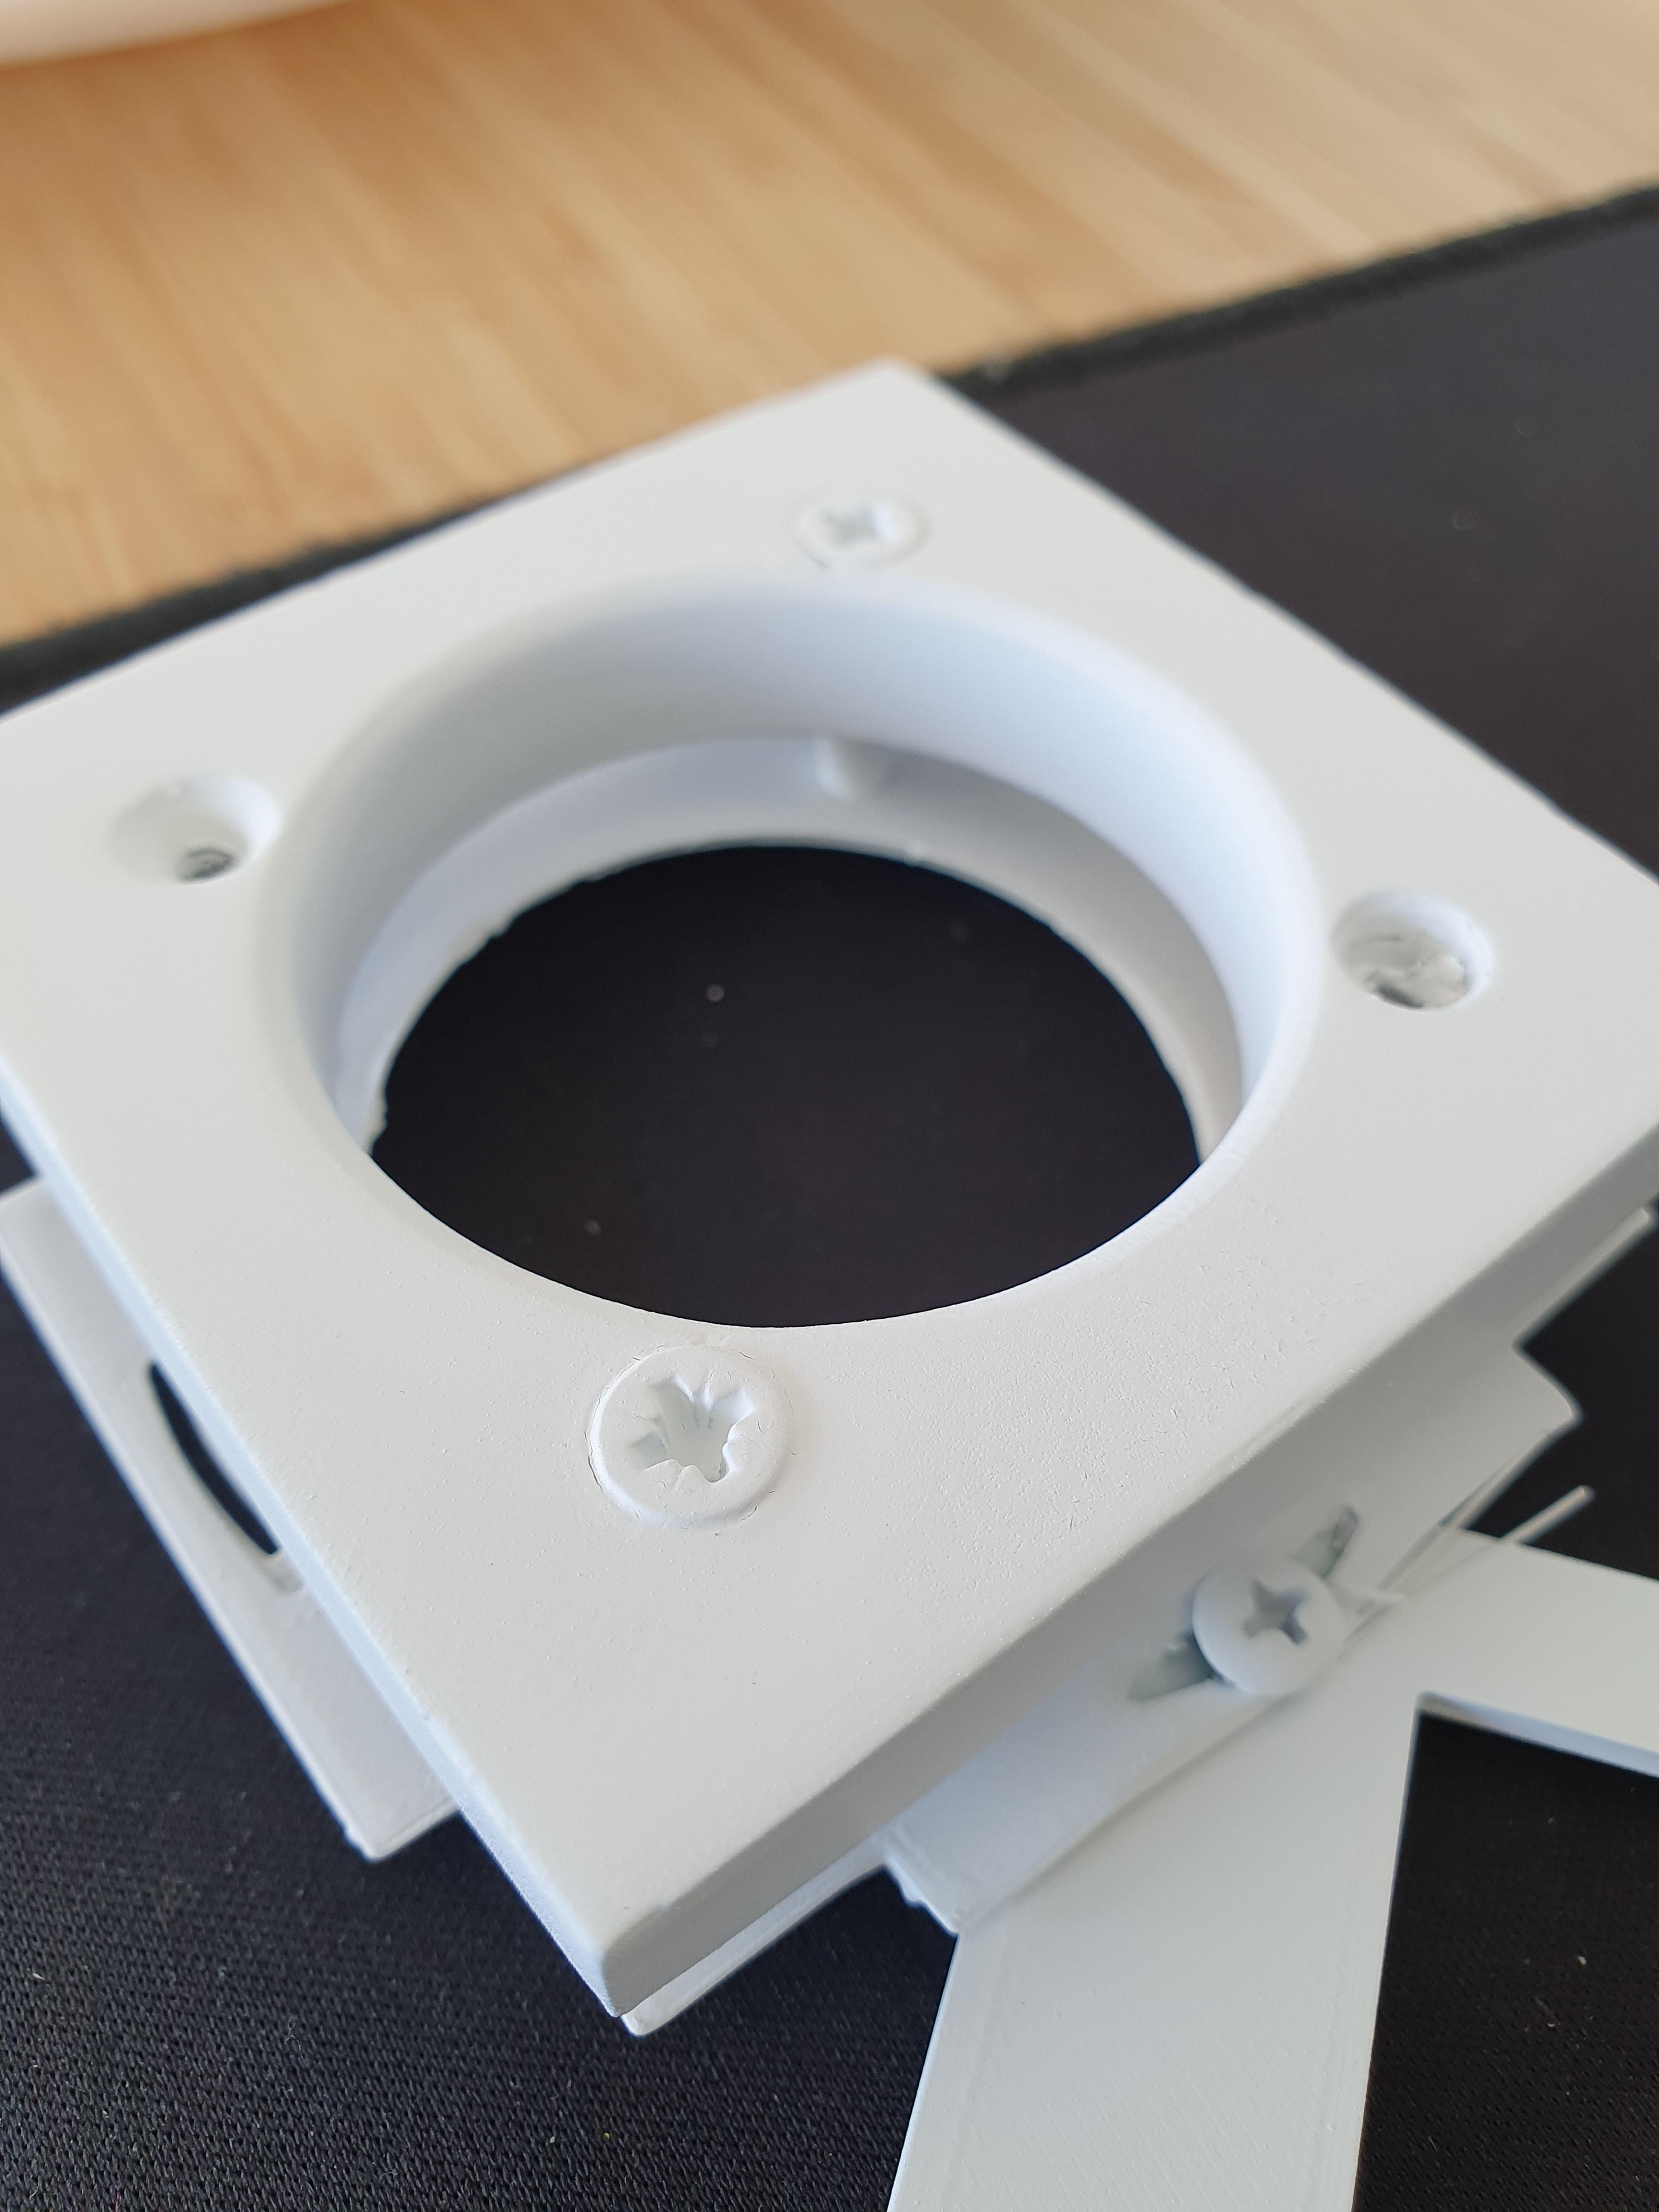
I removed the existing network socket from the wall and drilled directly through an existing network wall box.
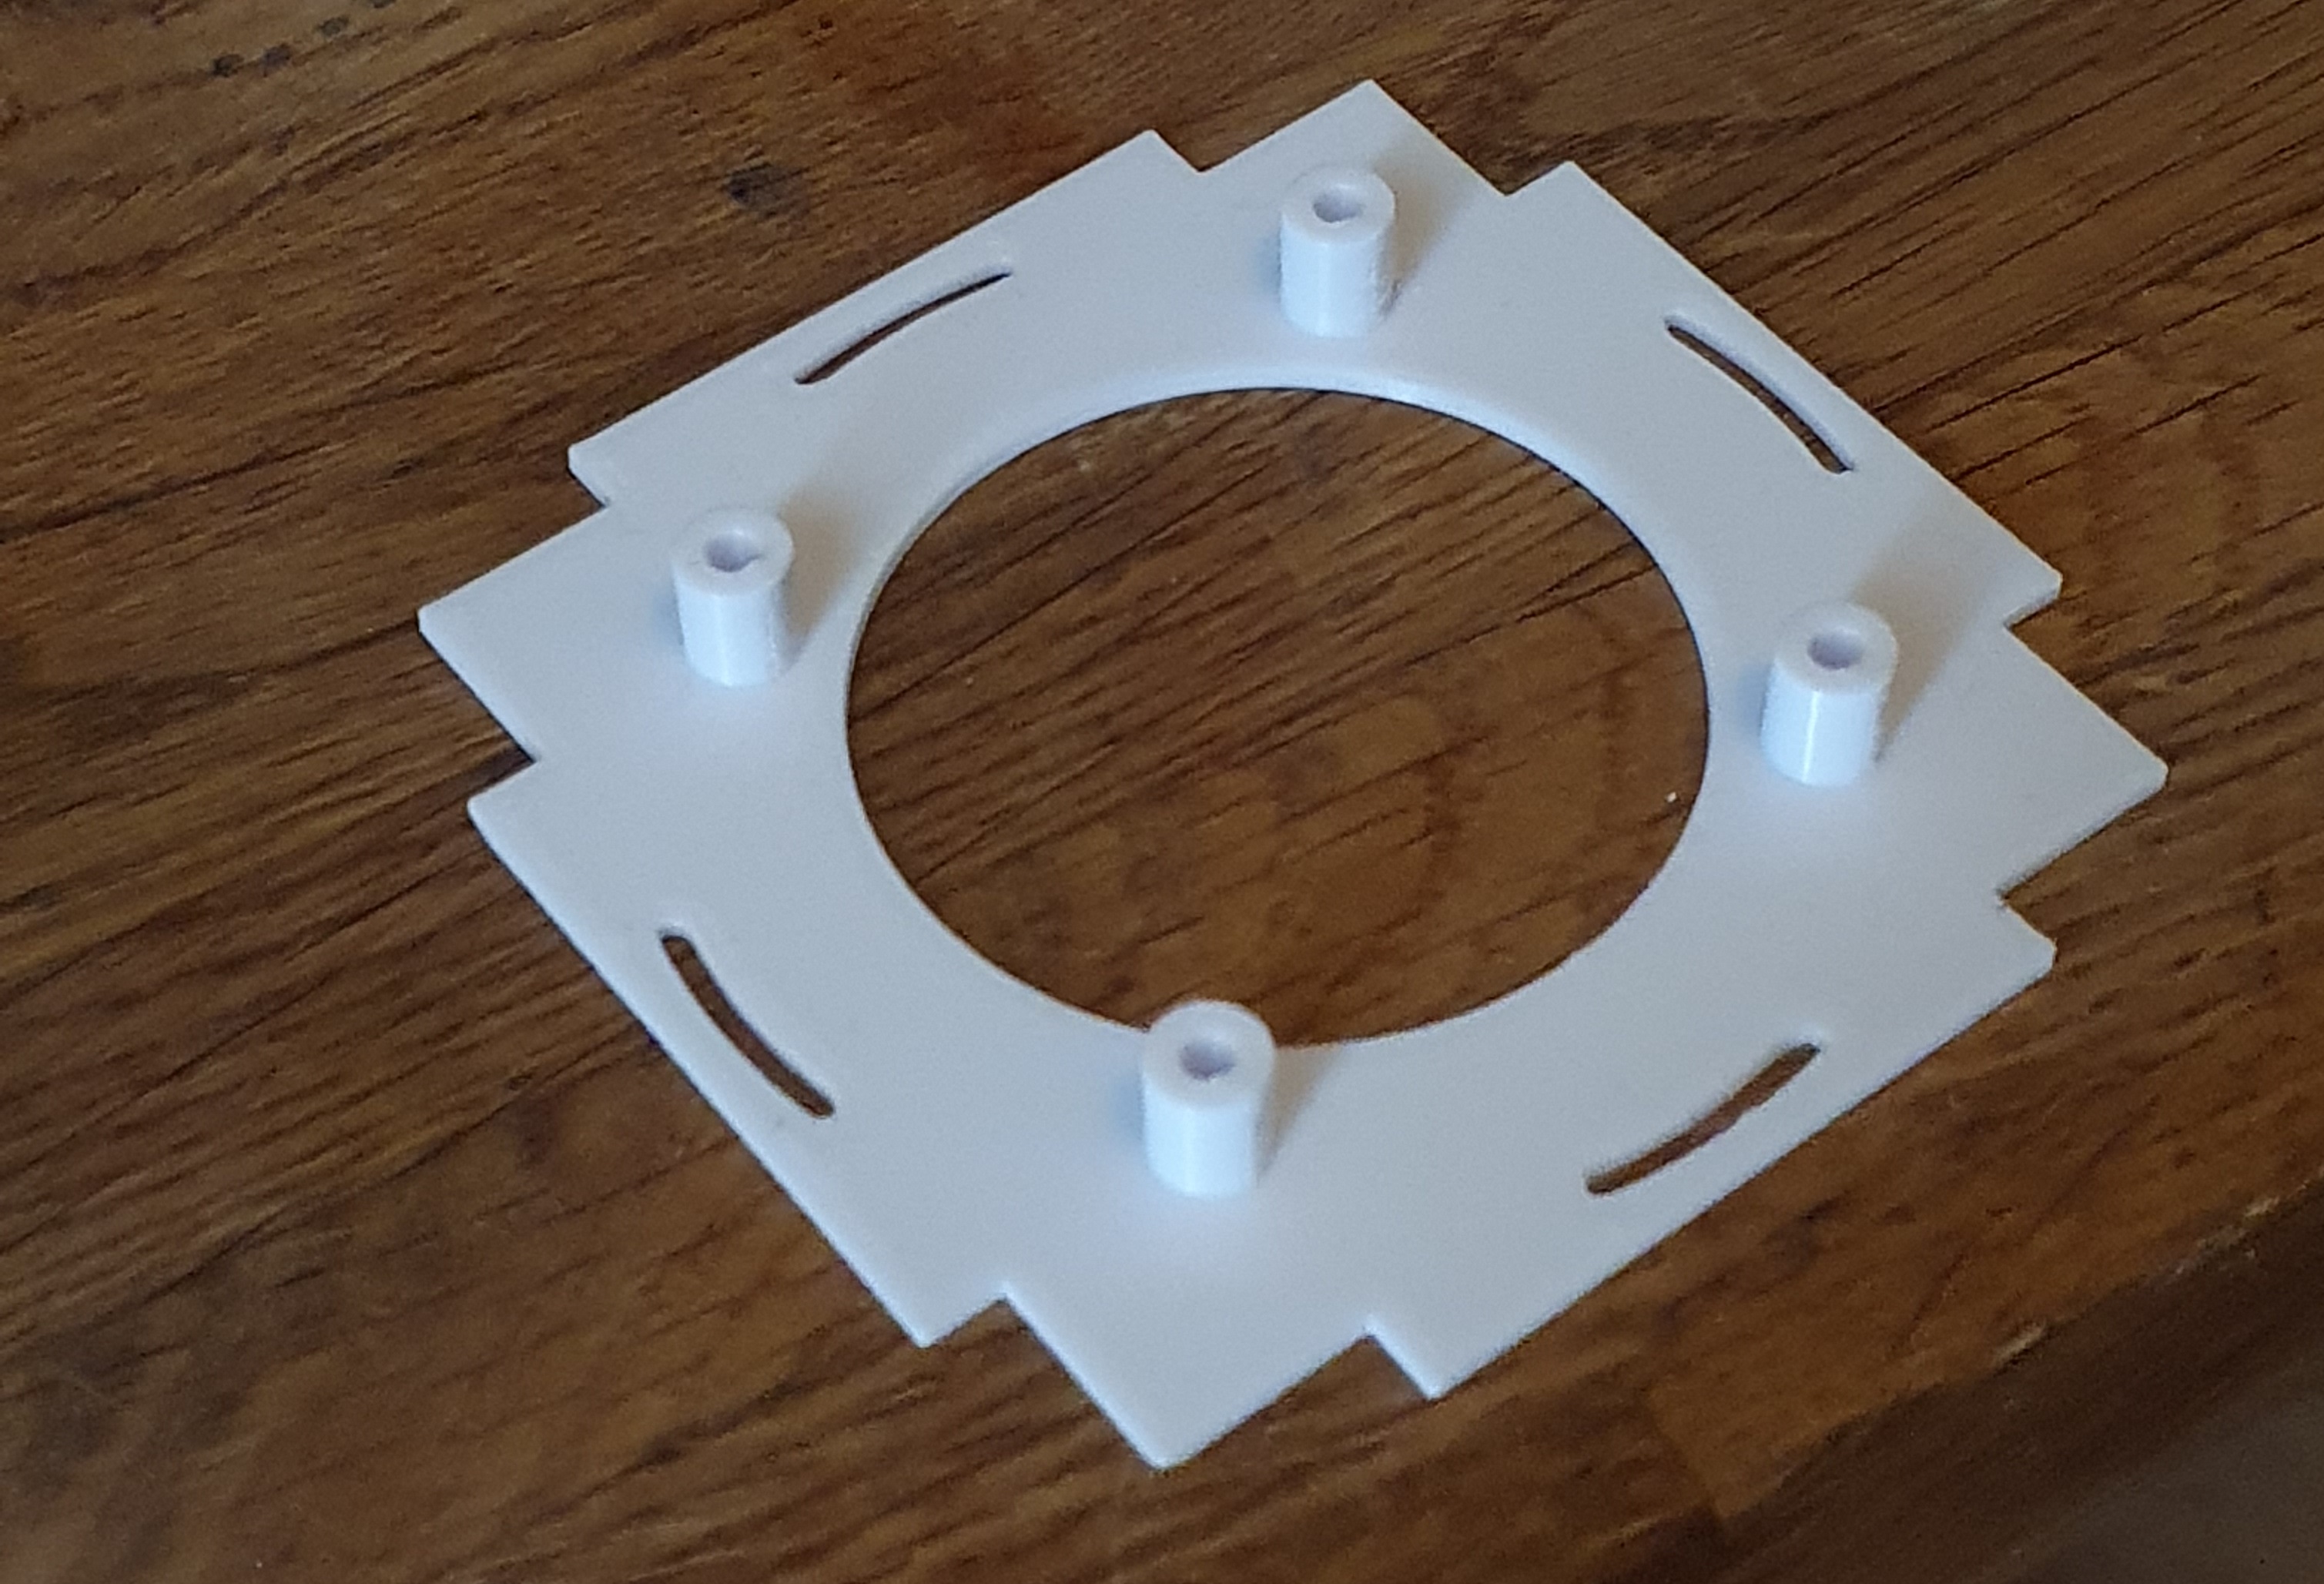
3D printed a simple workshop cover, it turned out to be quite large but it could have been installed.
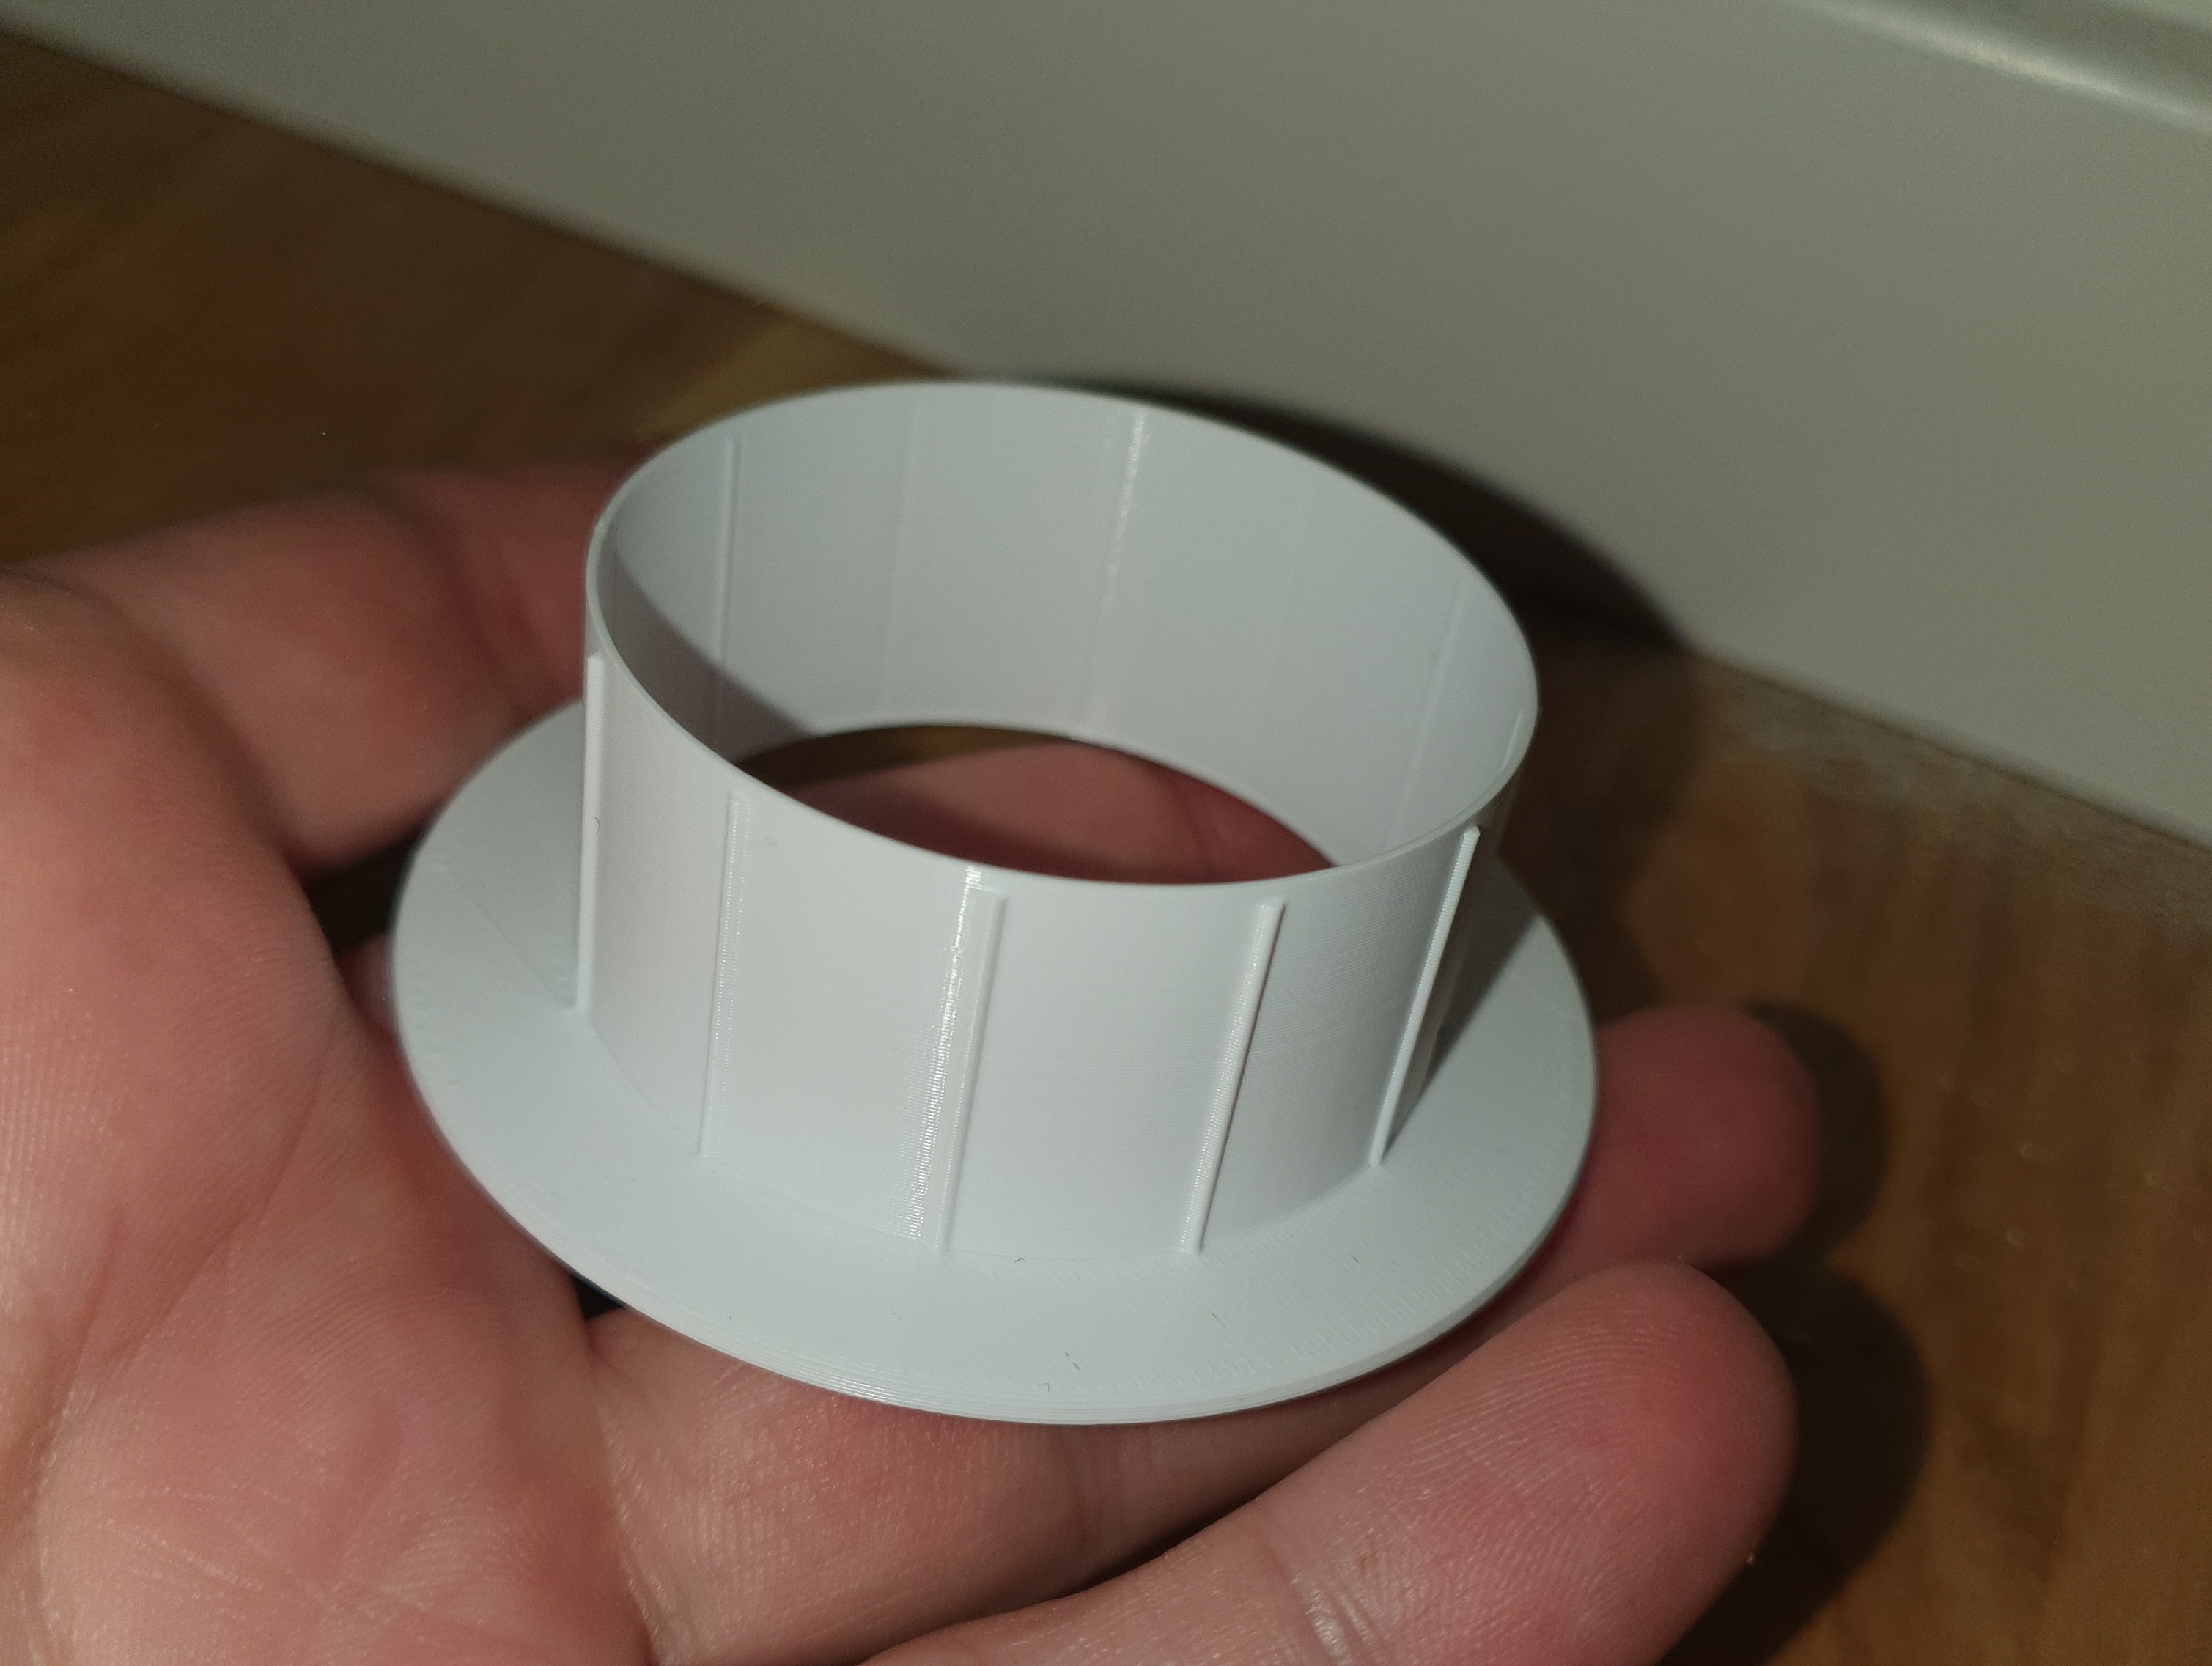
Overall satisfied as it was my first try!
I used a hole saw and made holes straight through the existing box [Ja, förlåt till er som ryggar till för detta ]
Next, I wrapped and printed the socket that would be attached to the front.
If you click on this link you will see a short video of it (shot with o_O mobile device)
https://imgur.com/7i1Chmp for video
This was sanded, primed, and painted – my first attempt at drawing anything at all. It was totally fine!
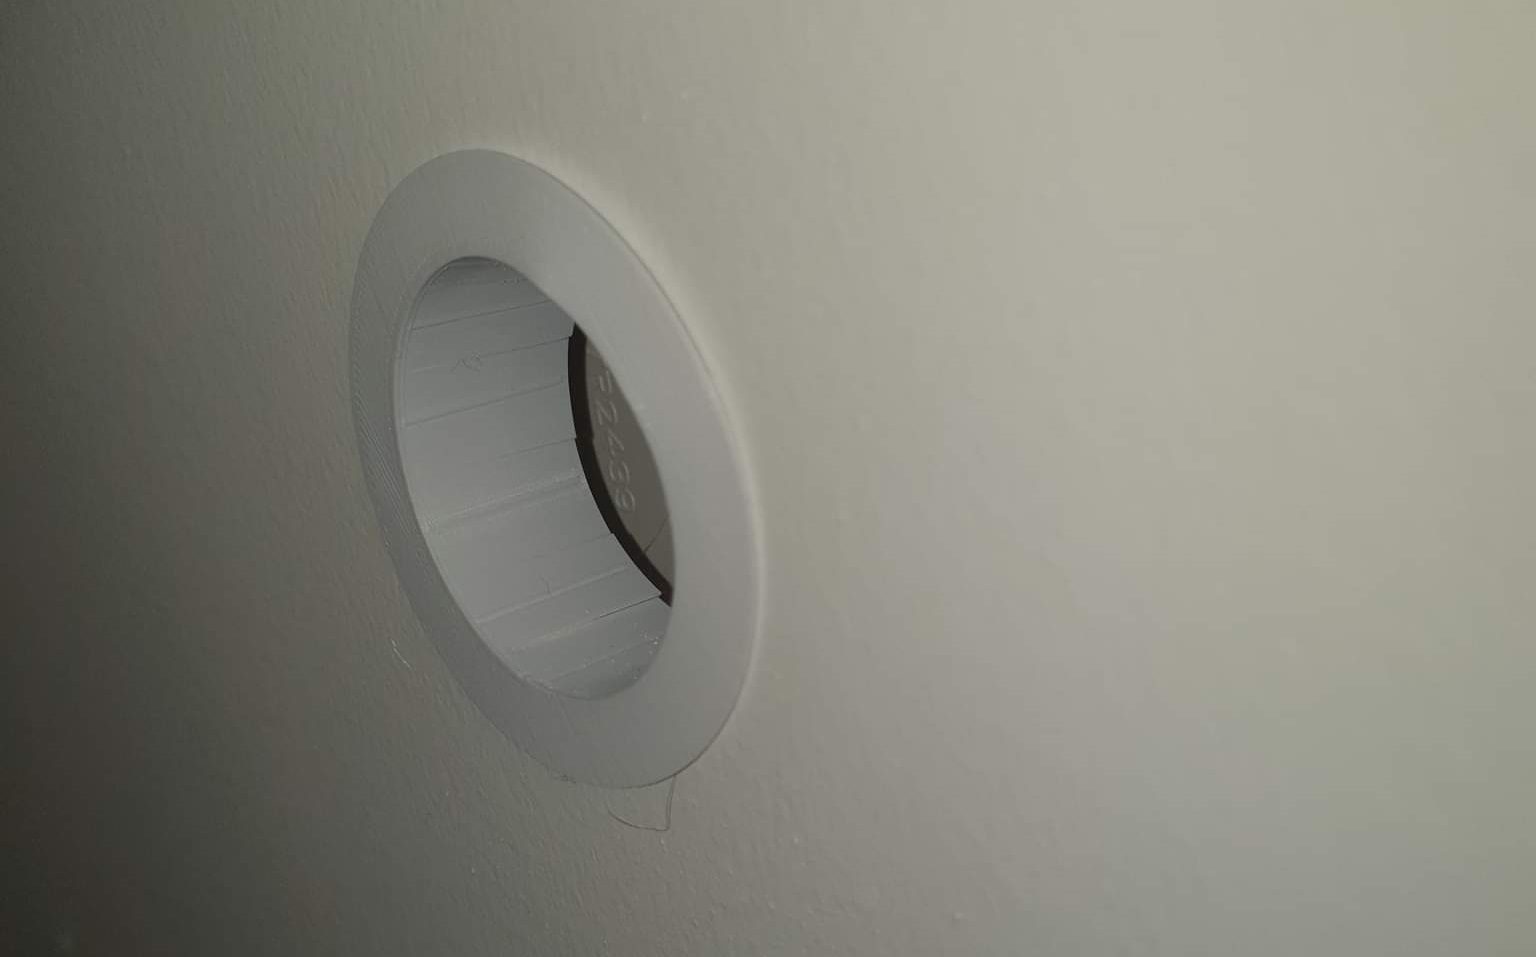
It is attached to the wall with
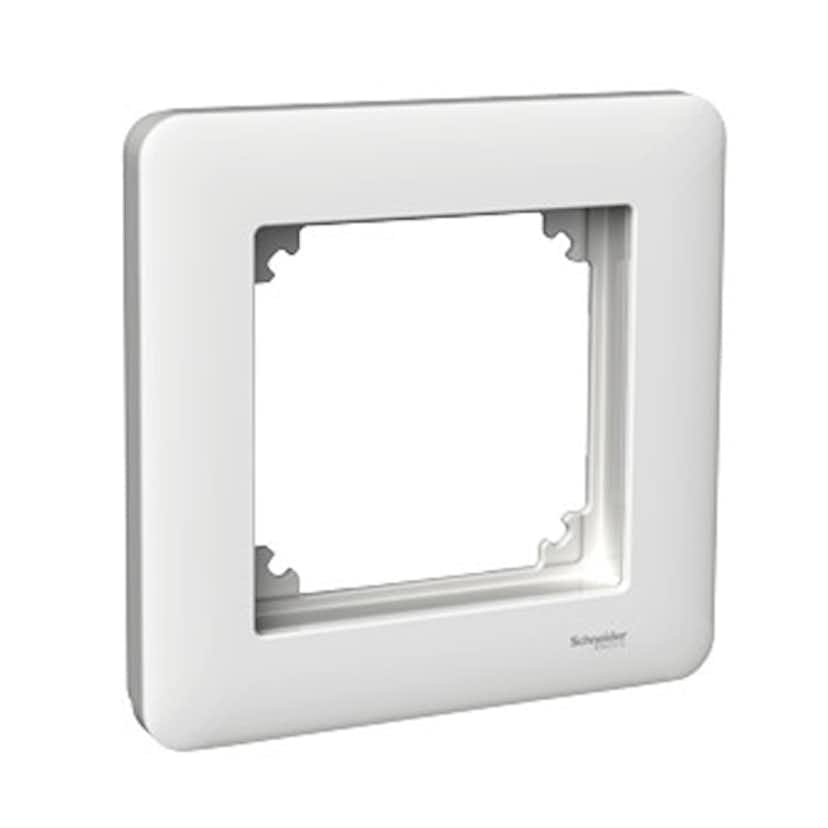
In a standard frame like this
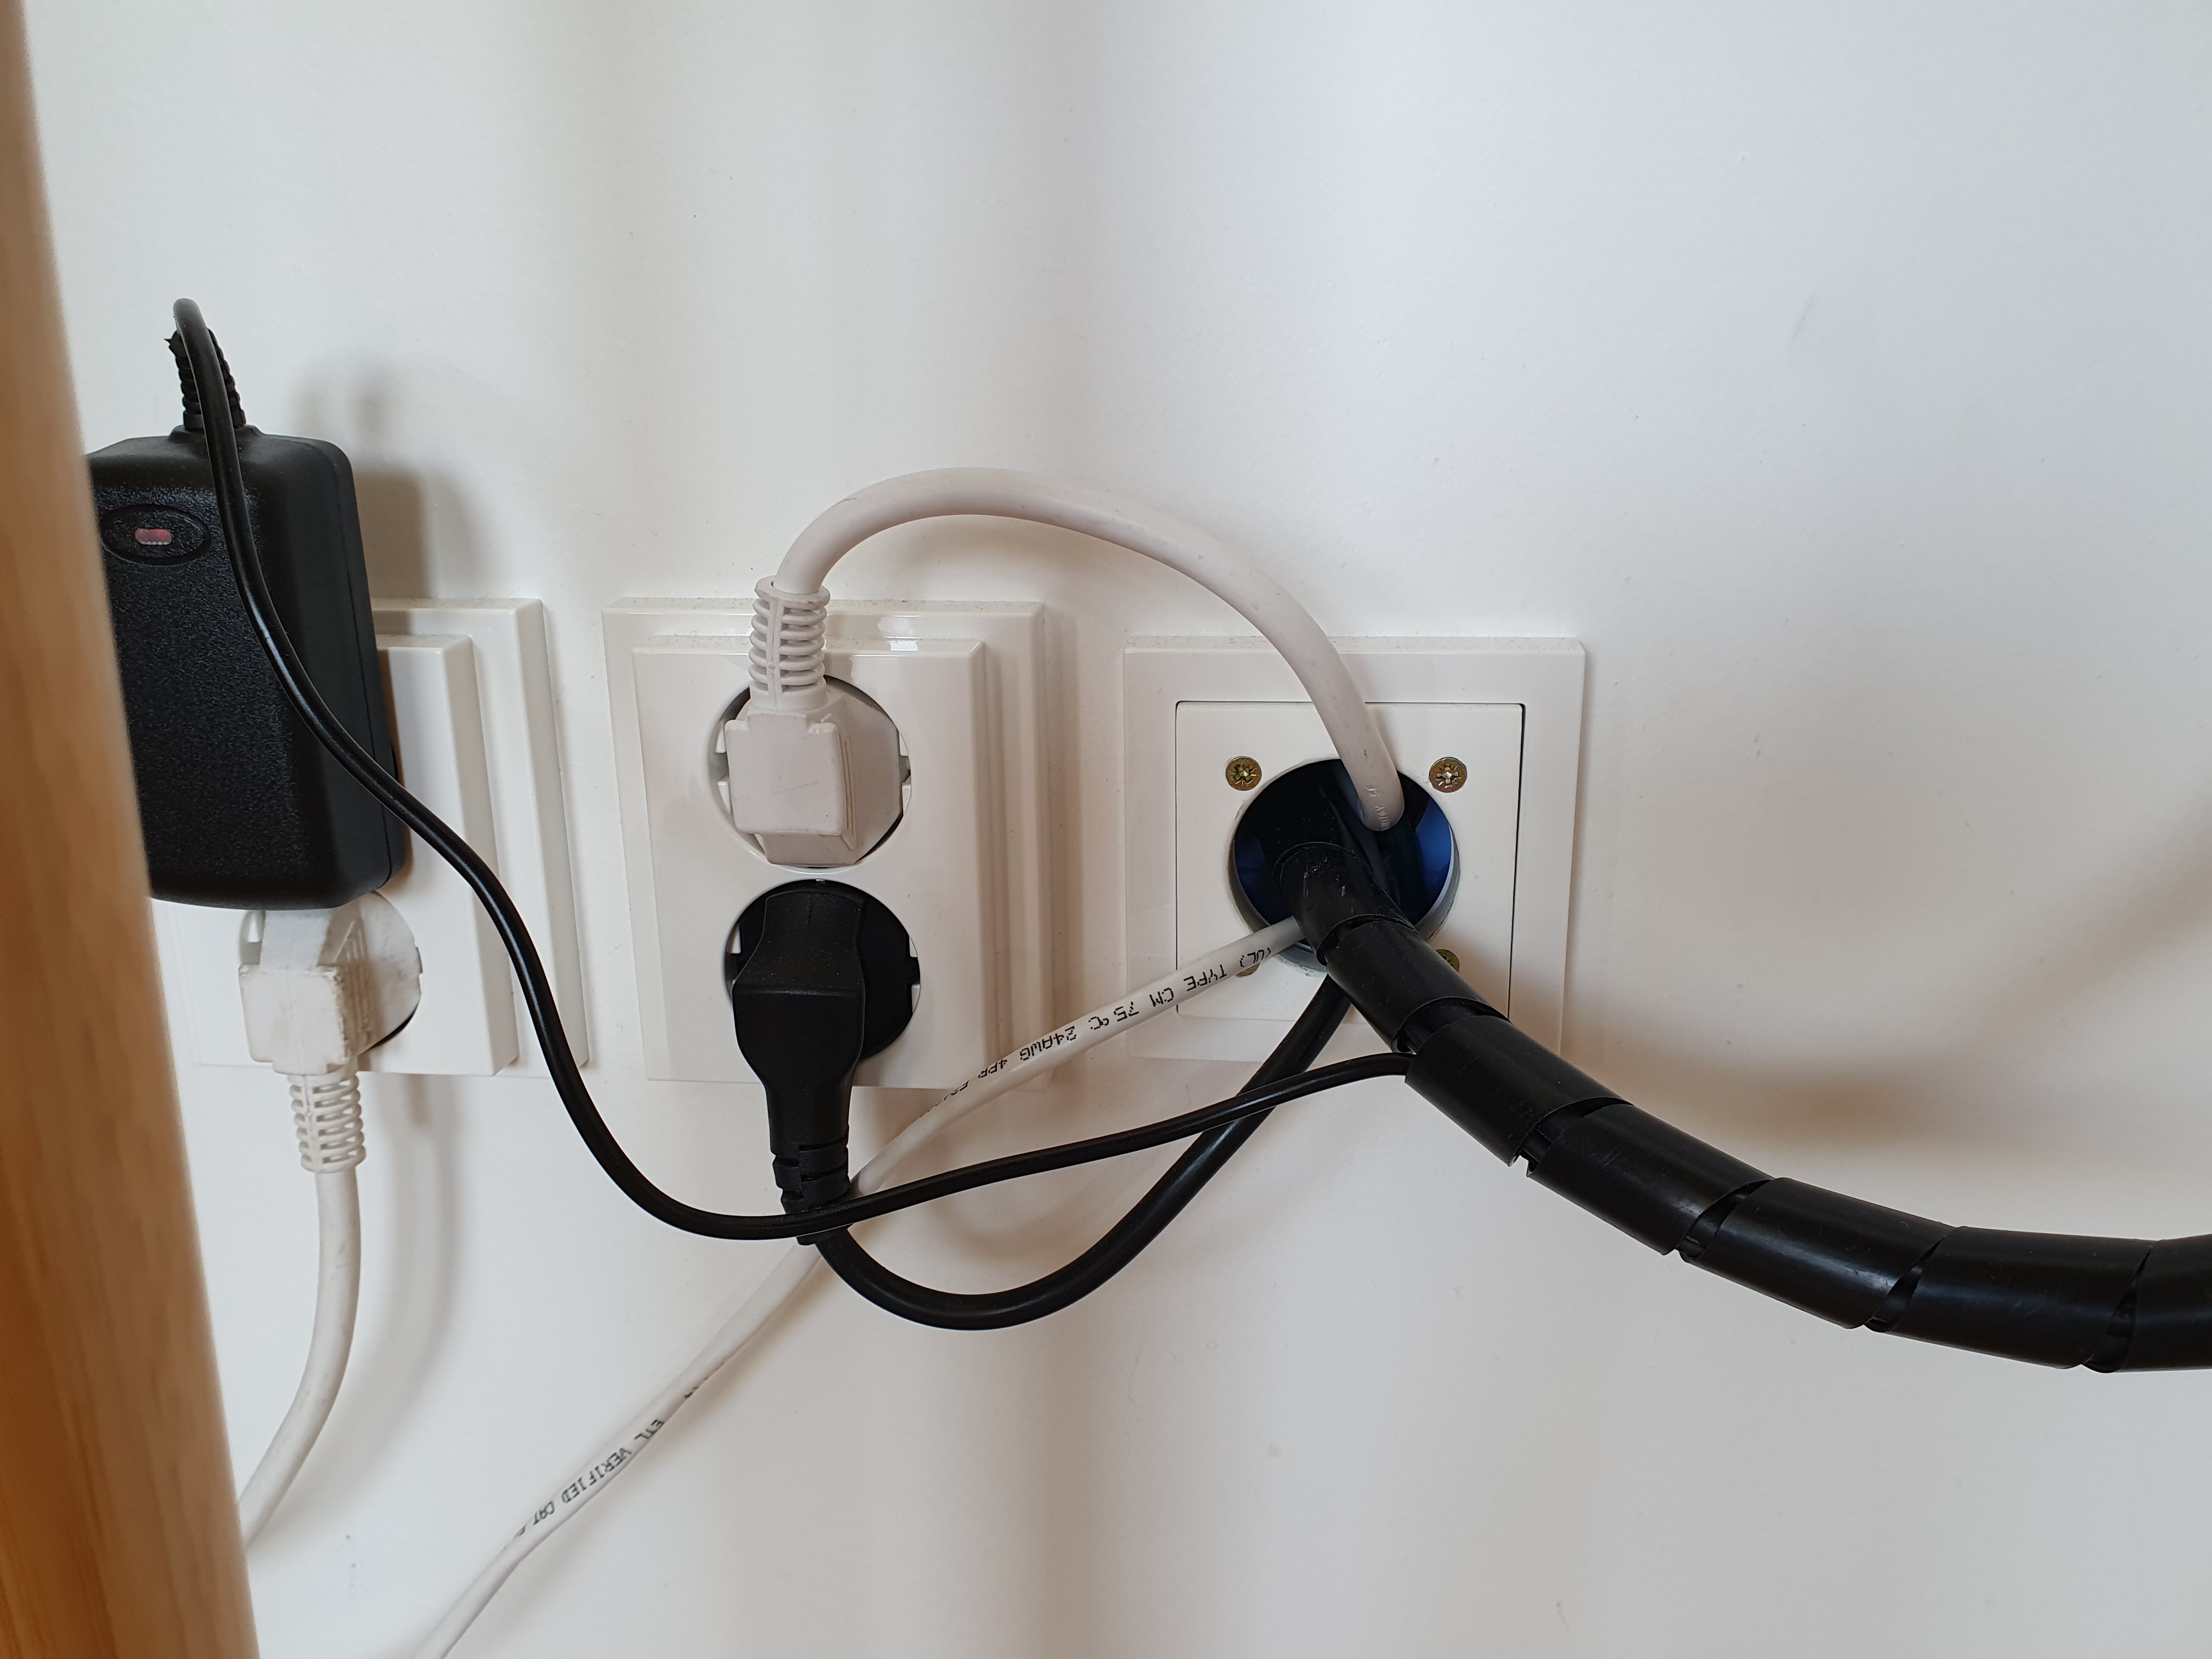
Without completing the wiring, the result was something like this:

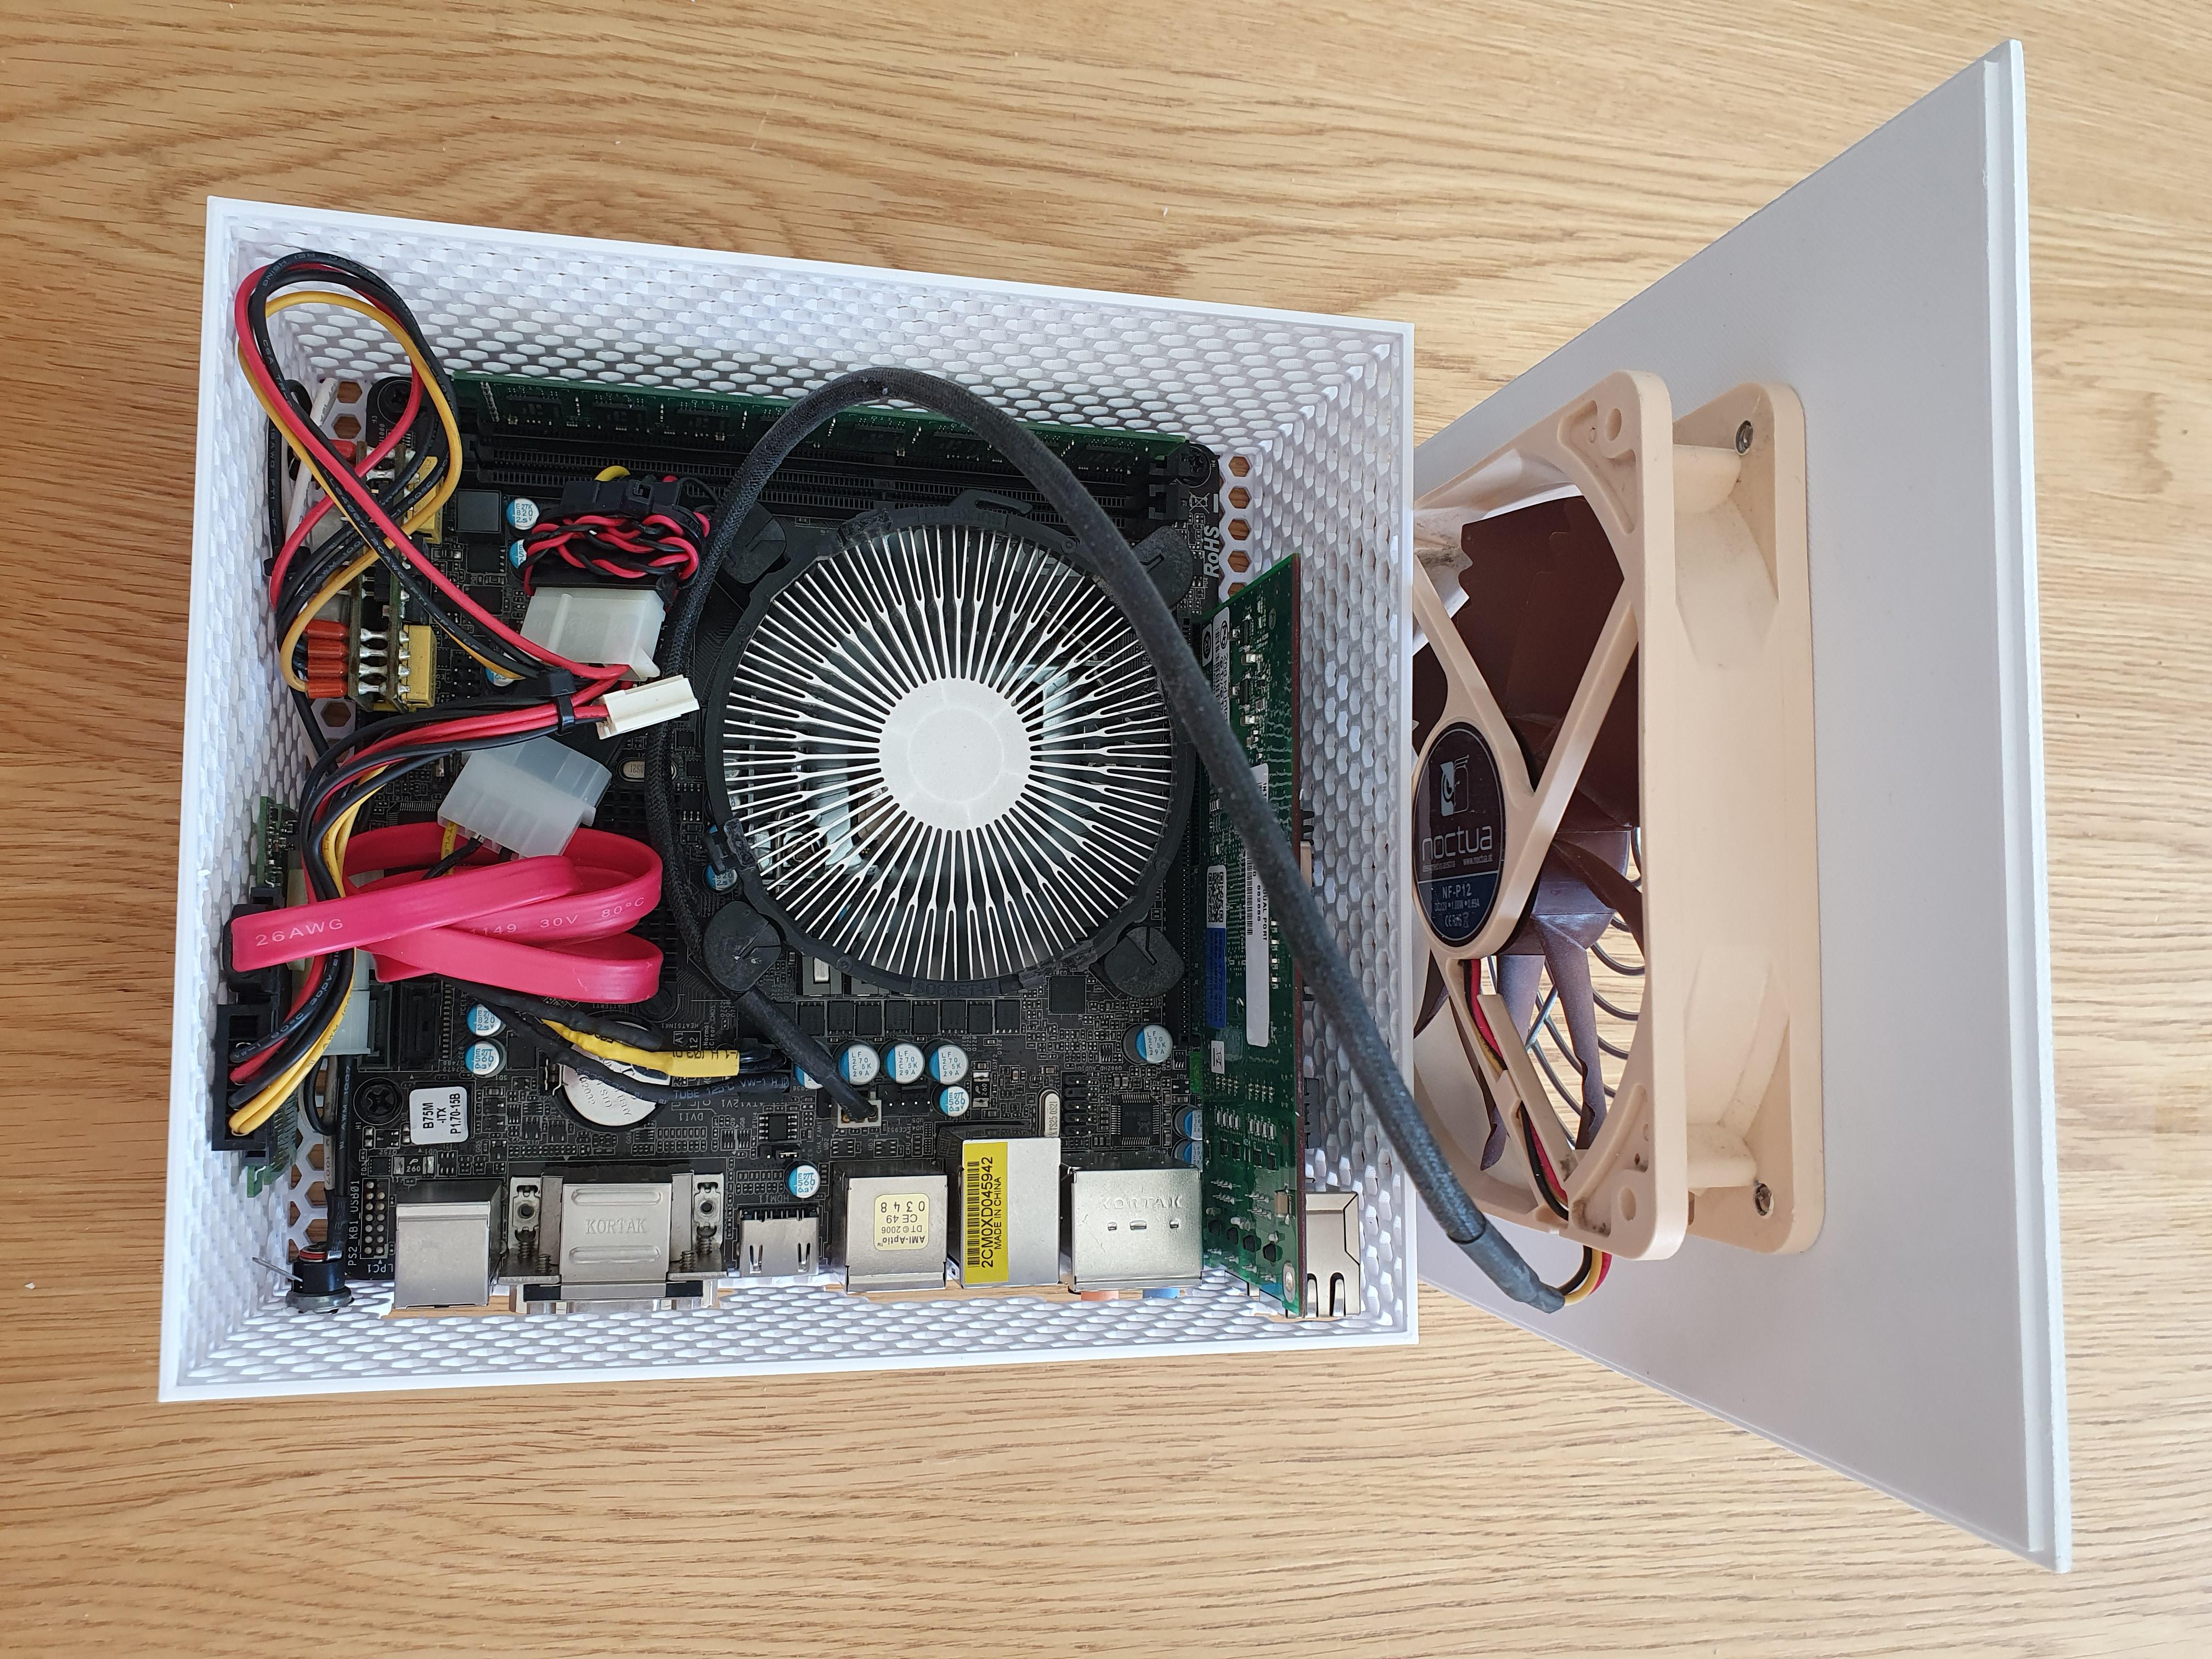
I chose to get rid of my old Asus router, which instead became an access point only.
He had an old Mini-itx around, a Celeron 2-core, and 4GB of RAM.
He stole an SSD from a laptop that hadn’t been used for a few years, tore up the metal sheets around it.
I bought a Pico PSU which I modified to have a 4 pin CPU.
He also bought the Dual Intel Gbit Network Interface Card.
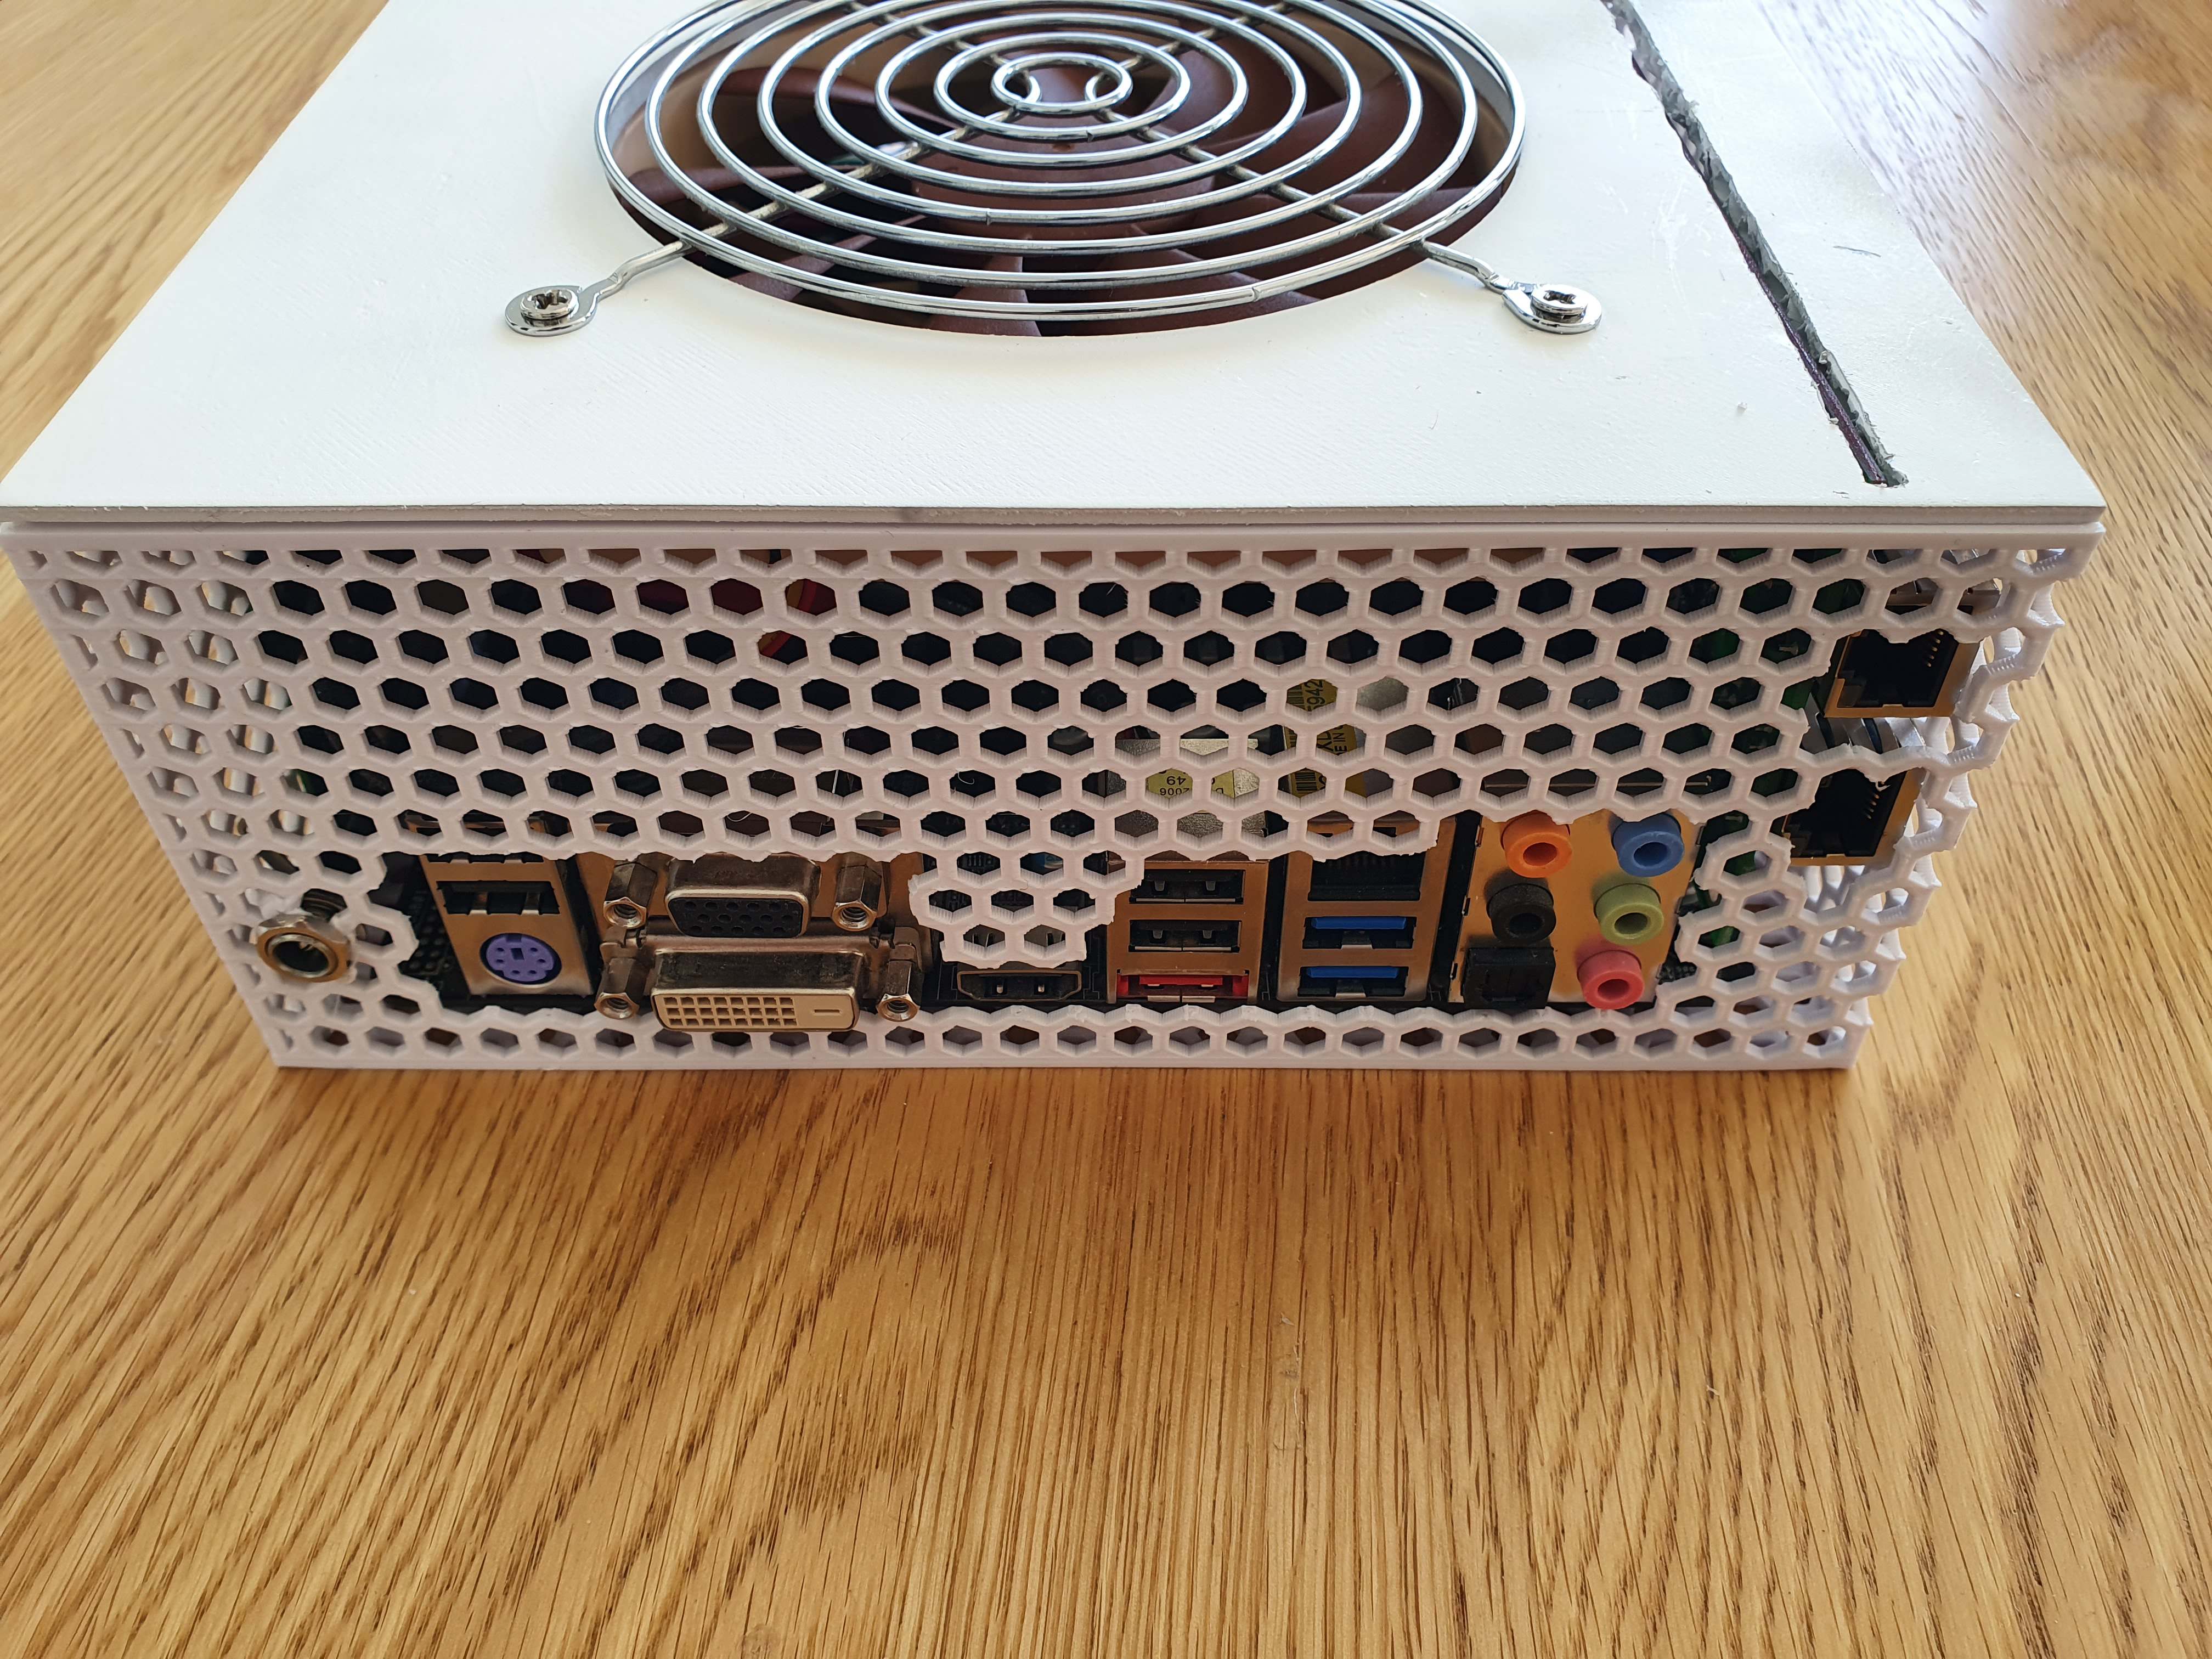
The result with the self-designed chassis was as follows:
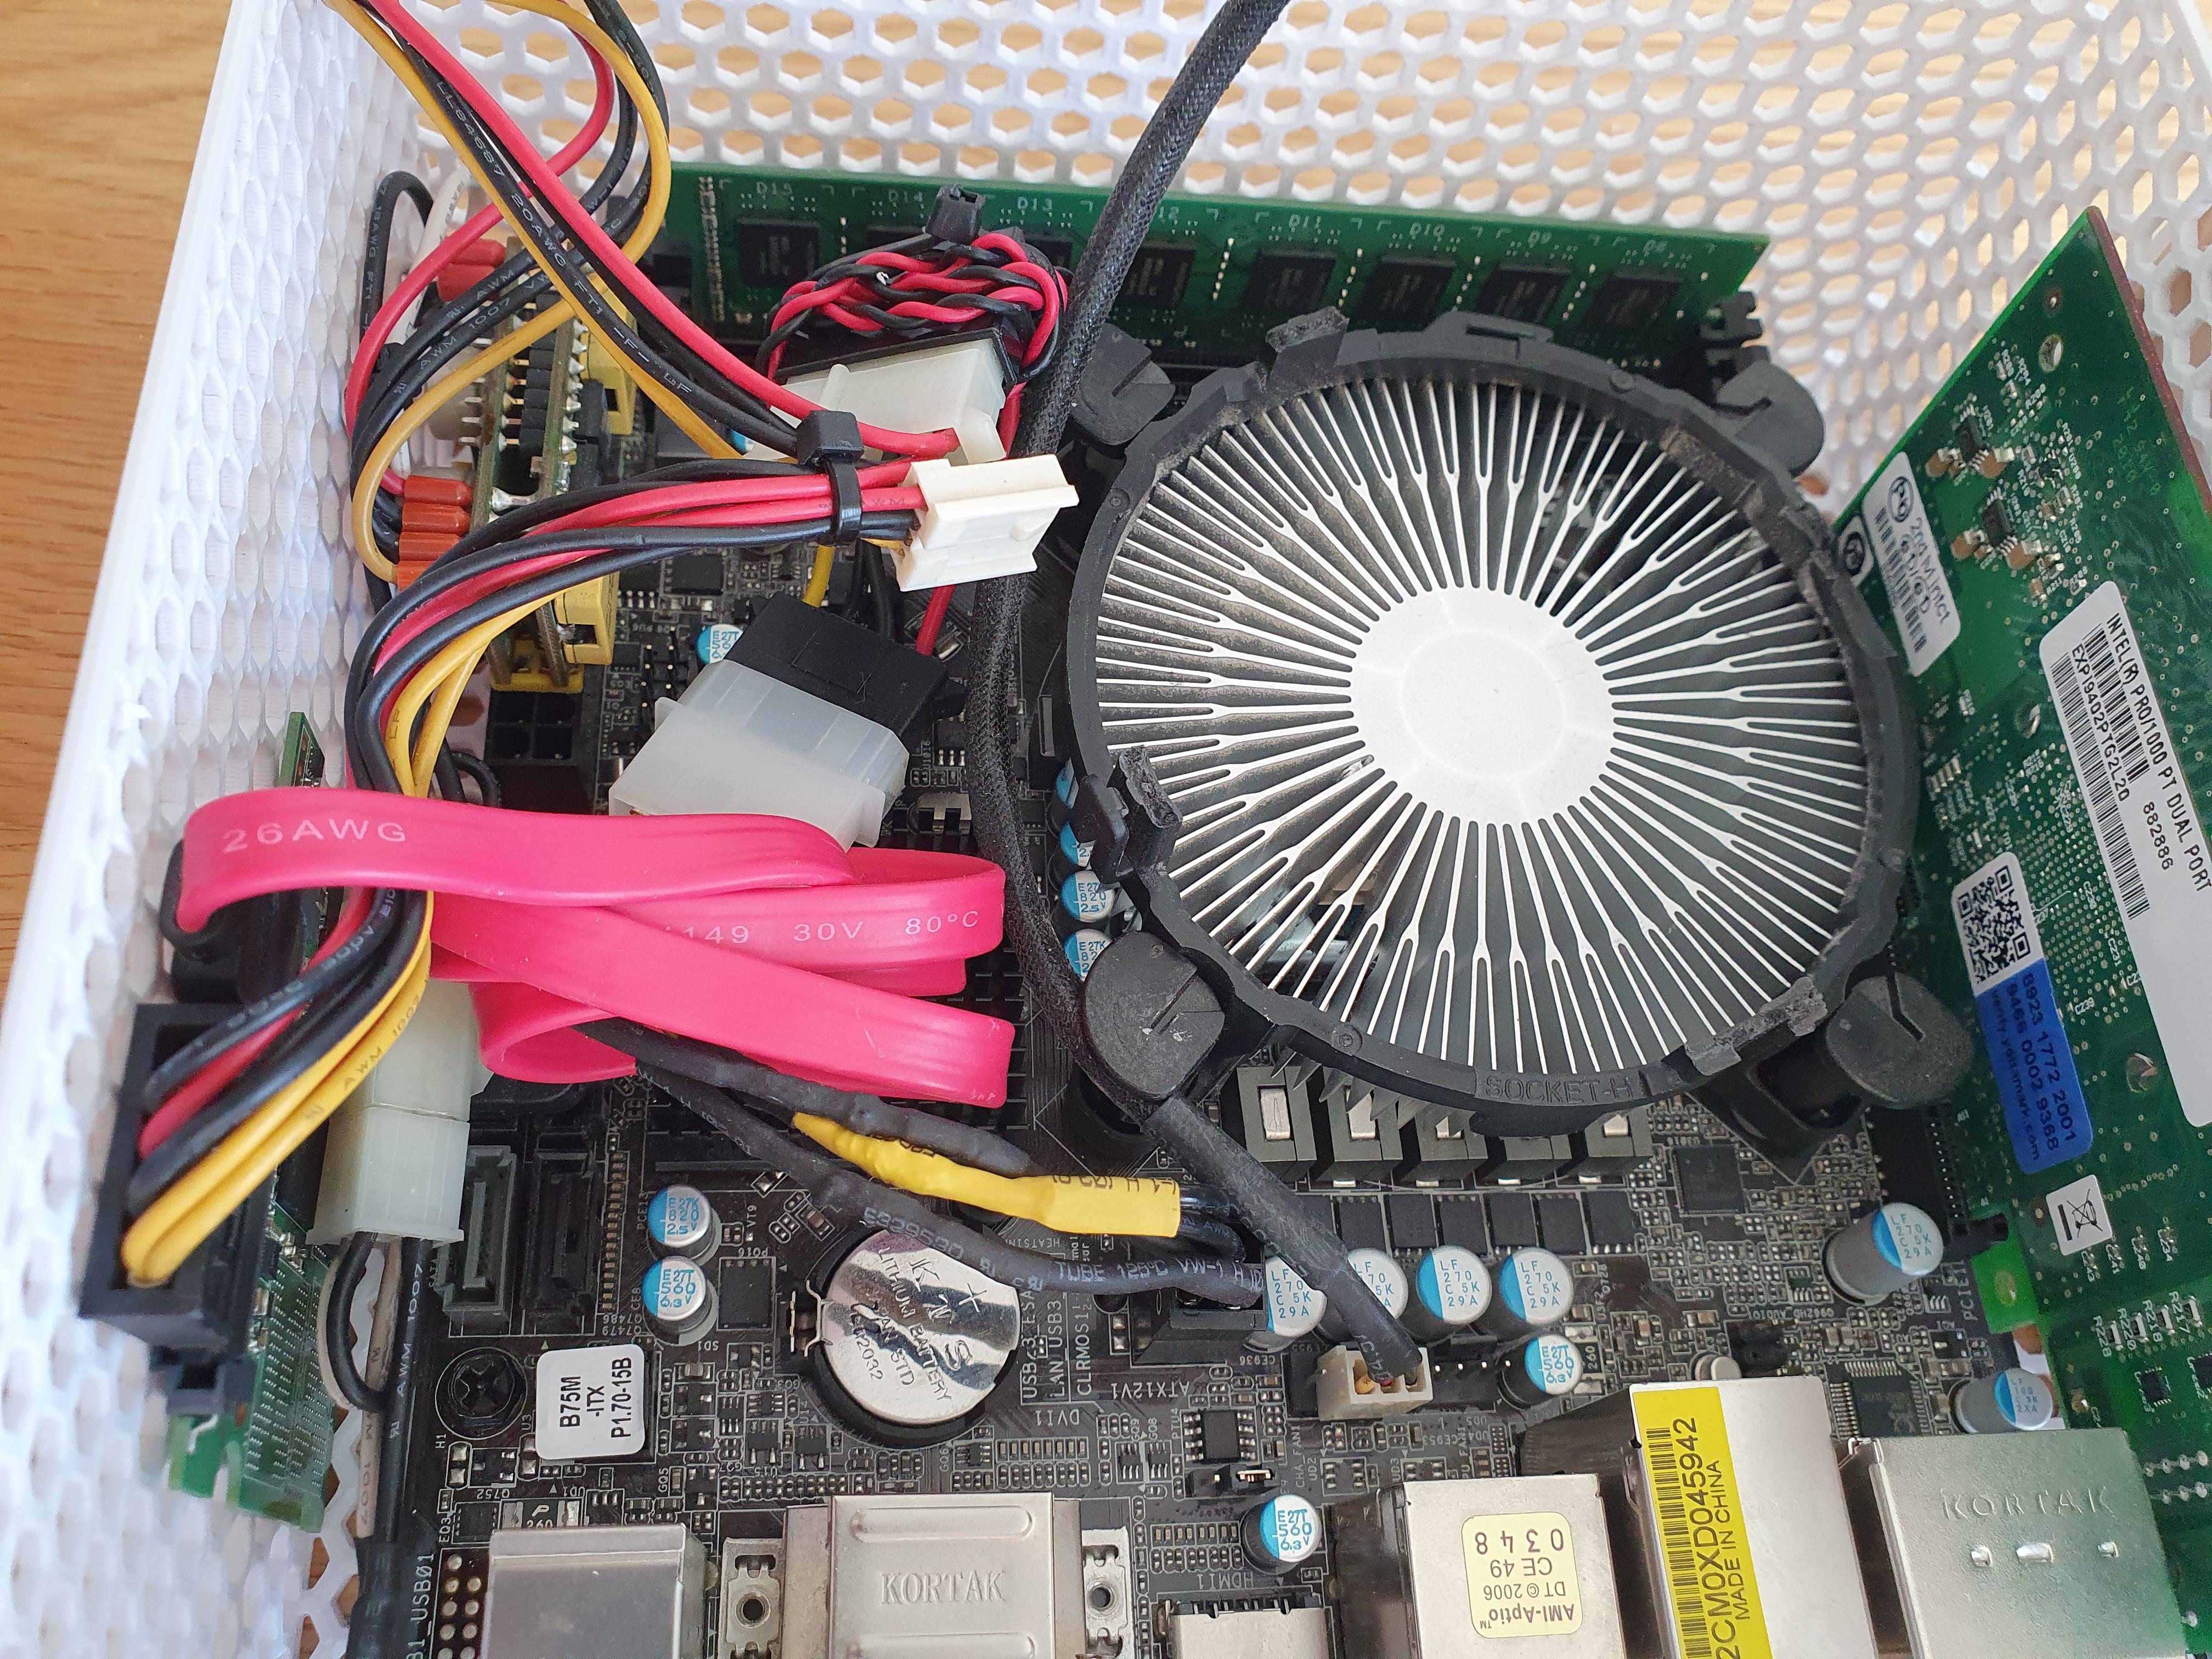
I took the wrong measurements by mistake and the NIC was 2mm higher than I thought.
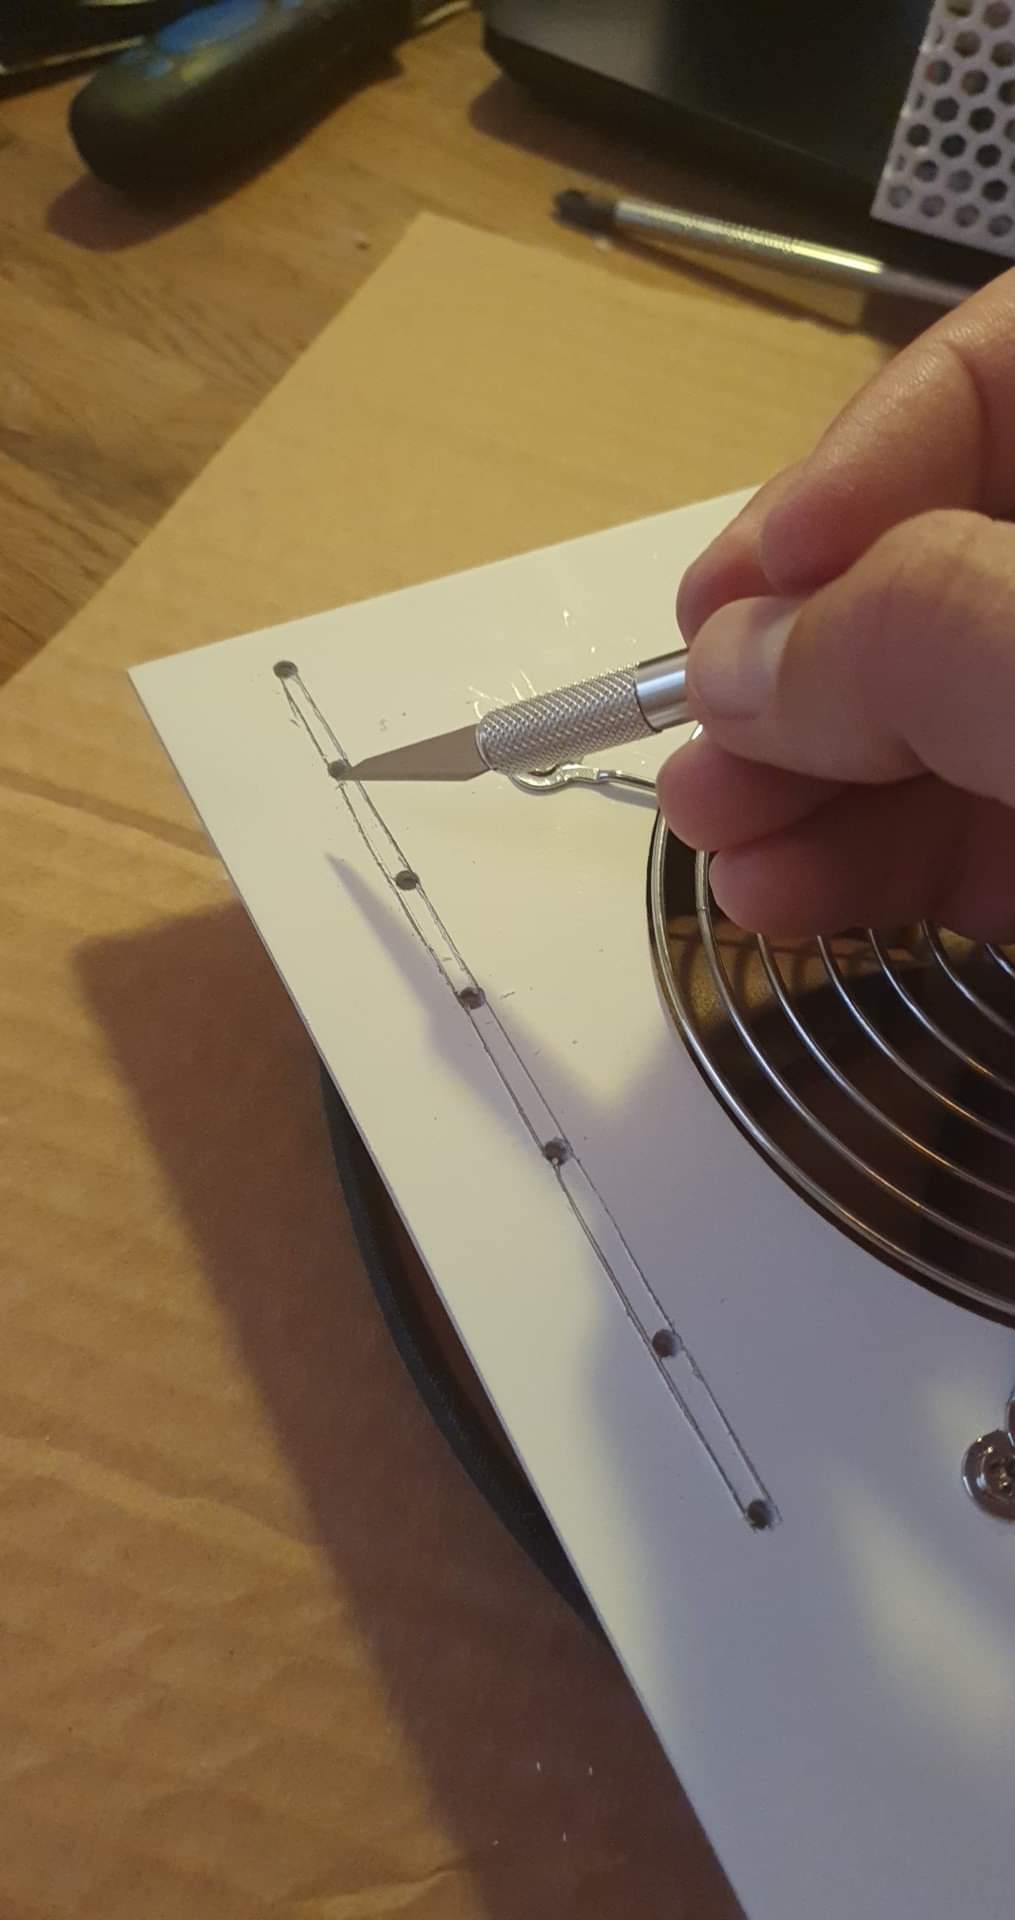
I had to choose between 3D printing a new lid (only about 5 hours) or giving the box some personality.
I chose the latter option and made my own notch using a screwdriver, and a hobby knife/scalpel.
Didn’t turn out pretty. But none of us are perfect
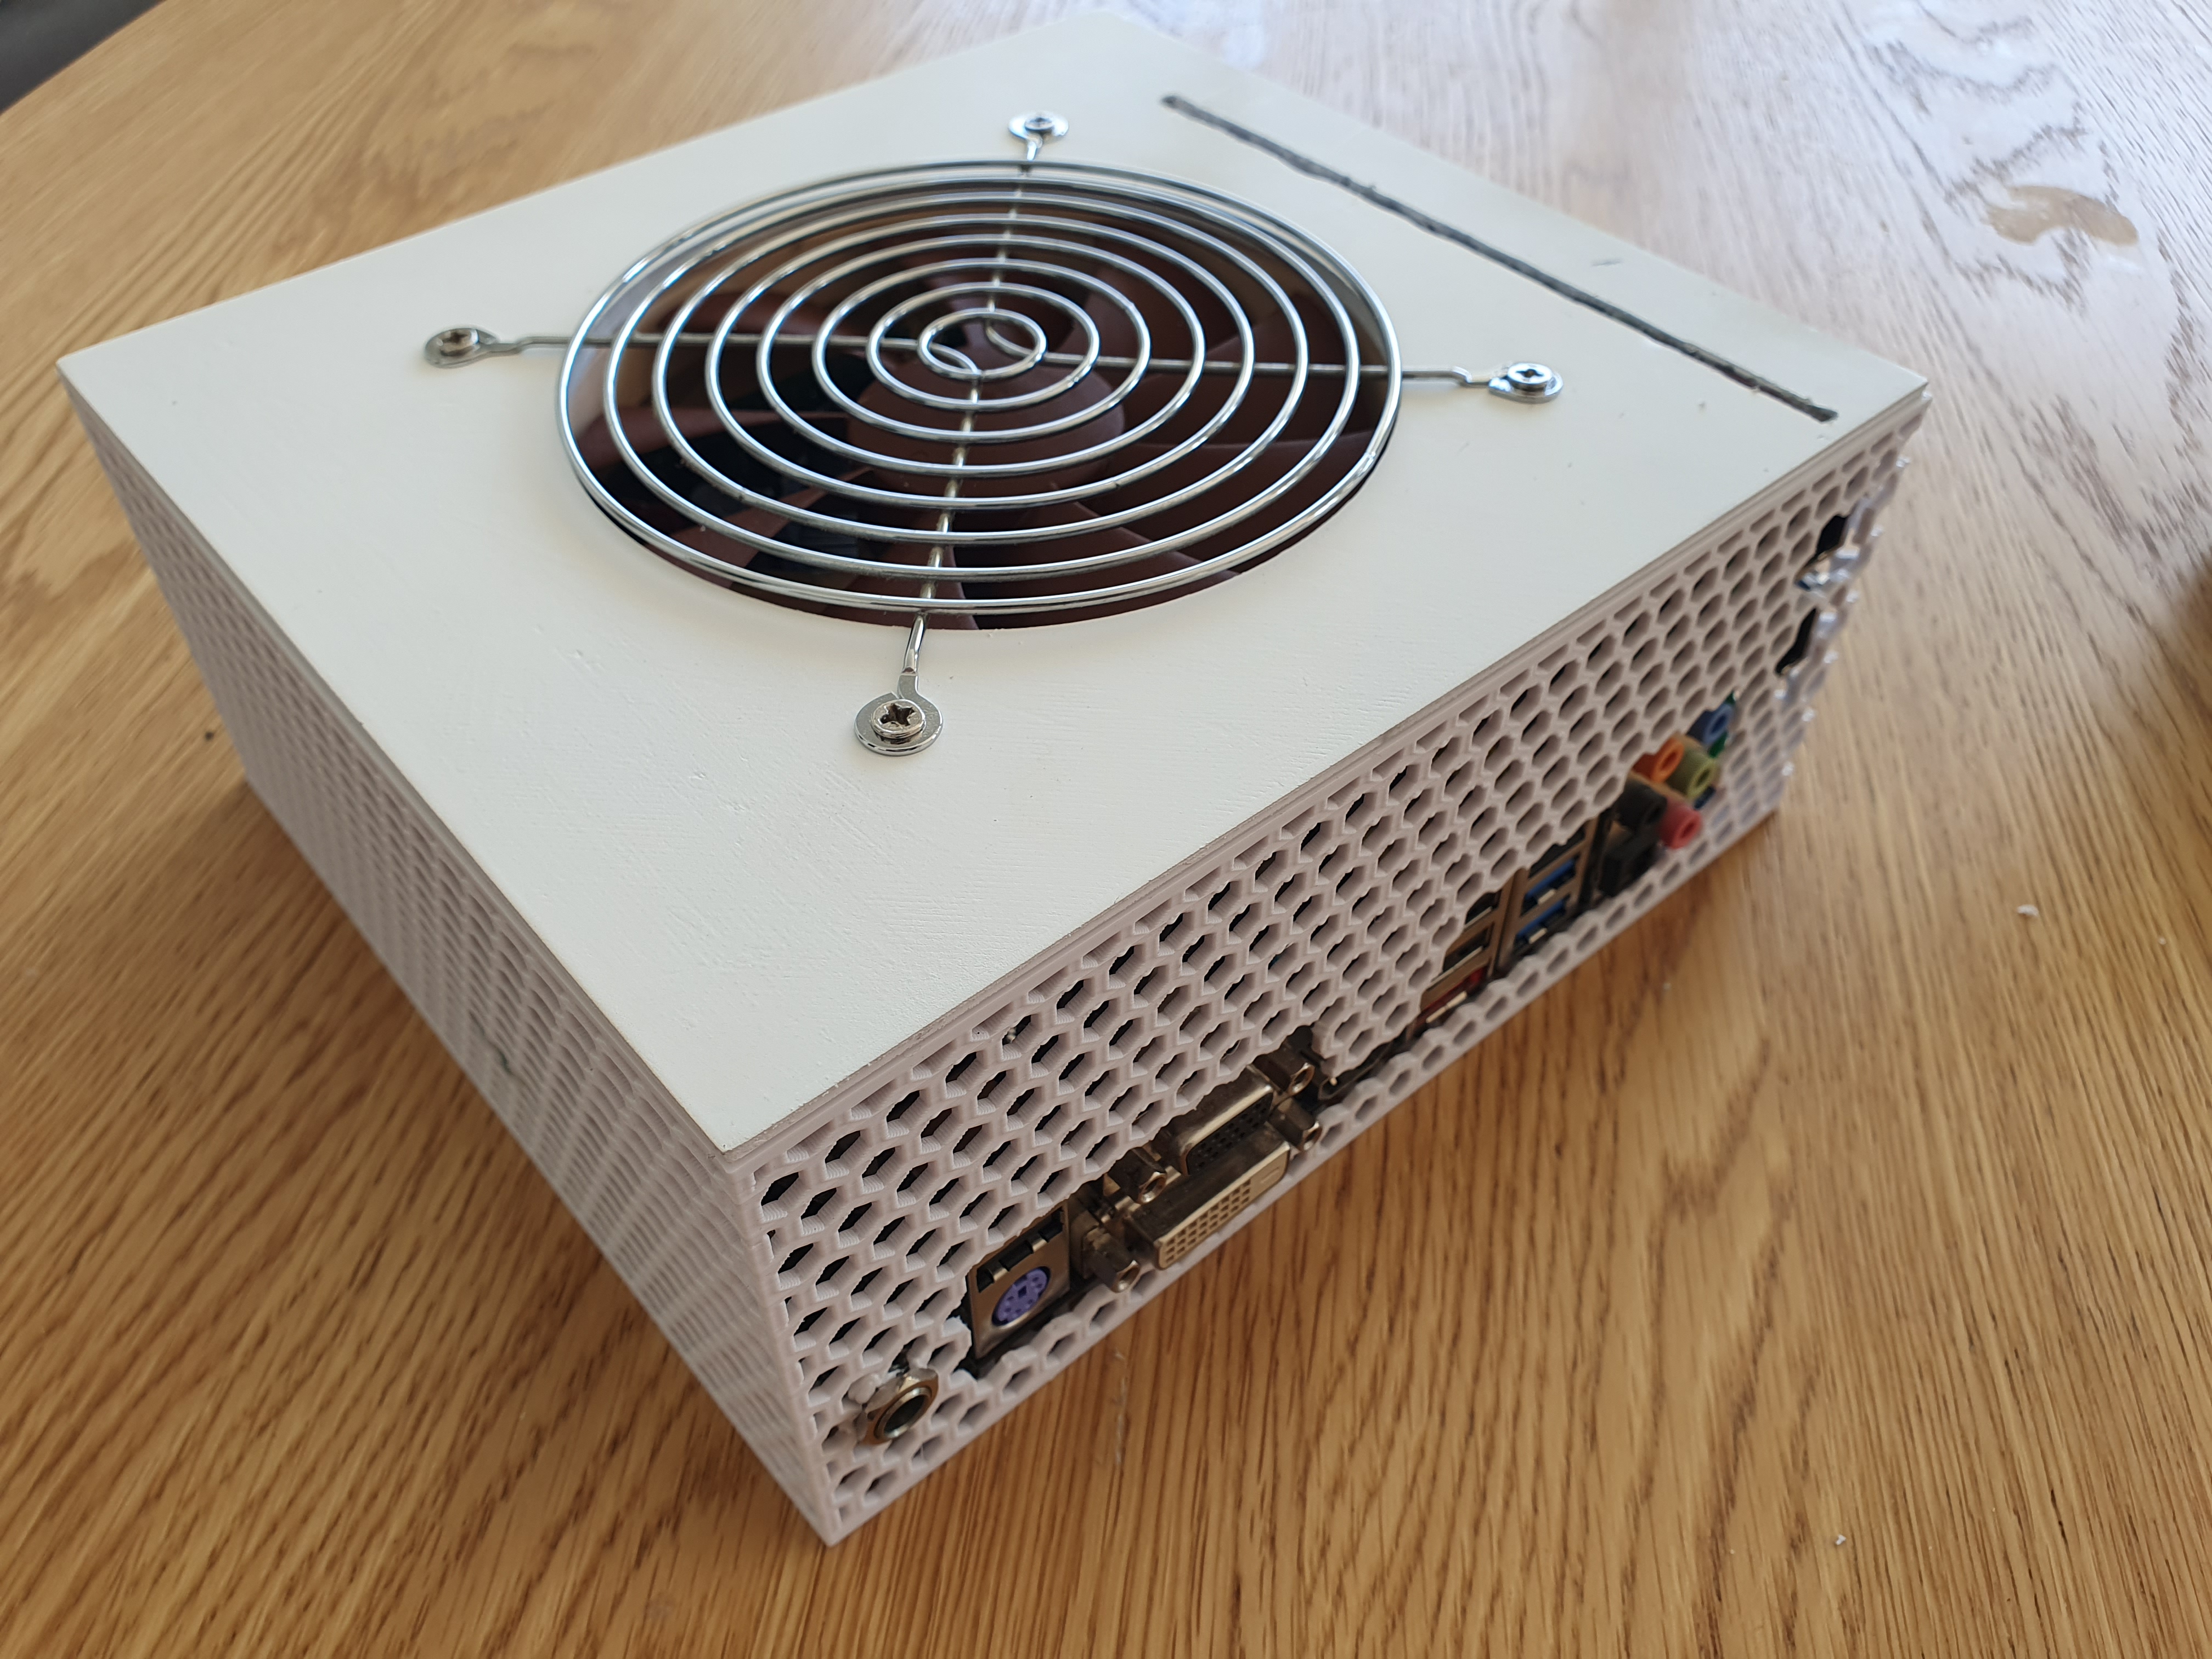
Choose to completely remove the intel fan, leave the cooler and replace it with Noctua. Already at 7V, the CPU temperature has been reduced by 6°C and I feel that all components have become noticeably cooler.
This was installed in a fairly large media cabinet, which after building in an entire computer became very cramped.

In general, I am very satisfied.
It was a really fun project. However, it was not fully completed. Previously you had a VLAN switch in the locker by mistake.
I’ve moved it now and it’s actually out of the closet with the servers.
Connected
Fiber distributor -> WAN on the Opnsense router.
Lan -> Patch3 -> GS108 -> My desktop, servers, wifi ap, IOT (vacuum cleaner, washing machine) and TV
GS108 port 2 -> Patch4 in cabinet -> GS105 switch that interfaces with other desktop computers. (makes 2 in total)
I’m expecting a problem with the GS105, so it might eventually be replaced as well
No part of the project was planned from the start.
However, I have my own little “workshop” with other machines already working and wanted to get the sound off the computer, so I took it day in and day out and tested how I wanted to do it one day there was a hole in the wall then I rolled it in.
The structure took about 20 hours to print.
Was completely new to CAD and chose to use OpenSCAD for the structure, and it probably took me at least 20 hours to draw that too.
I also took the opportunity to learn a little Fusion360 and this is what I used to draw the parts of the “electrical box” in the wall. However, it went much faster in a strange way!
There are clearly more improvements that can be made.
You need to fix the cable routing from the table where I’m sitting, it’s mostly hanging there now.
All the wires inside the router are standard lengths, and I’m a bit inclined to cut them and keep them as clean as possible.
I never opened the sata cable, but I think it is more appropriate to order a shorter cable from it. The rest is much easier to cut and solder yourself.,
Now in the past, it might be a good idea to have cables under the motherboard otherwise. However, the box would be too high for your media cabinet no matter who they are.

Graham Greene is a contributor to Dealmakerz, covering news, politics, business, technology, sport, entertainment, and lifestyle. He focuses on clear, accurate reporting and useful information that helps readers stay informed about current affairs and developments that matter to them. His work highlights relevant stories, emerging trends, and key issues, presenting them in a balanced, accessible, and reader-friendly way.


More Stories
Android Auto Finally Catches Up as Google Maps Gains Built-In Speedometer
Millions of Samsung Galaxy Phones Set to Receive Free One UI 9 Upgrade
Samsung Galaxy Z Fold 8 Wide: Tech Giant Targets New Foldable Market With Slimmer Design